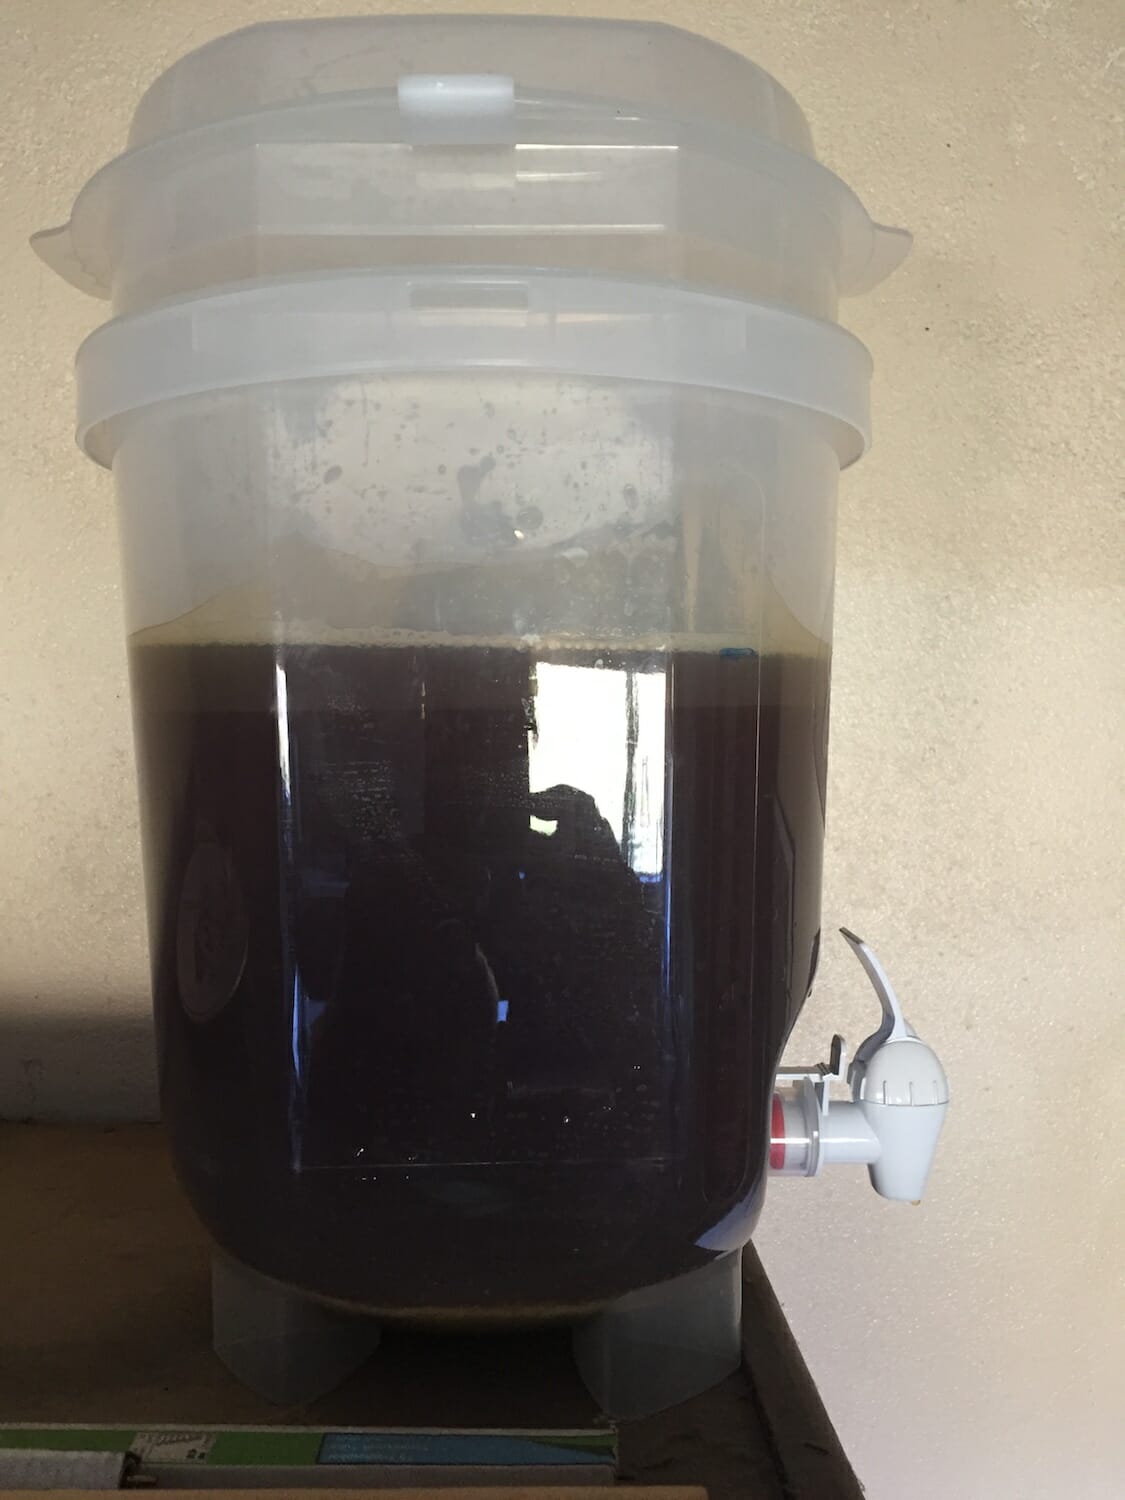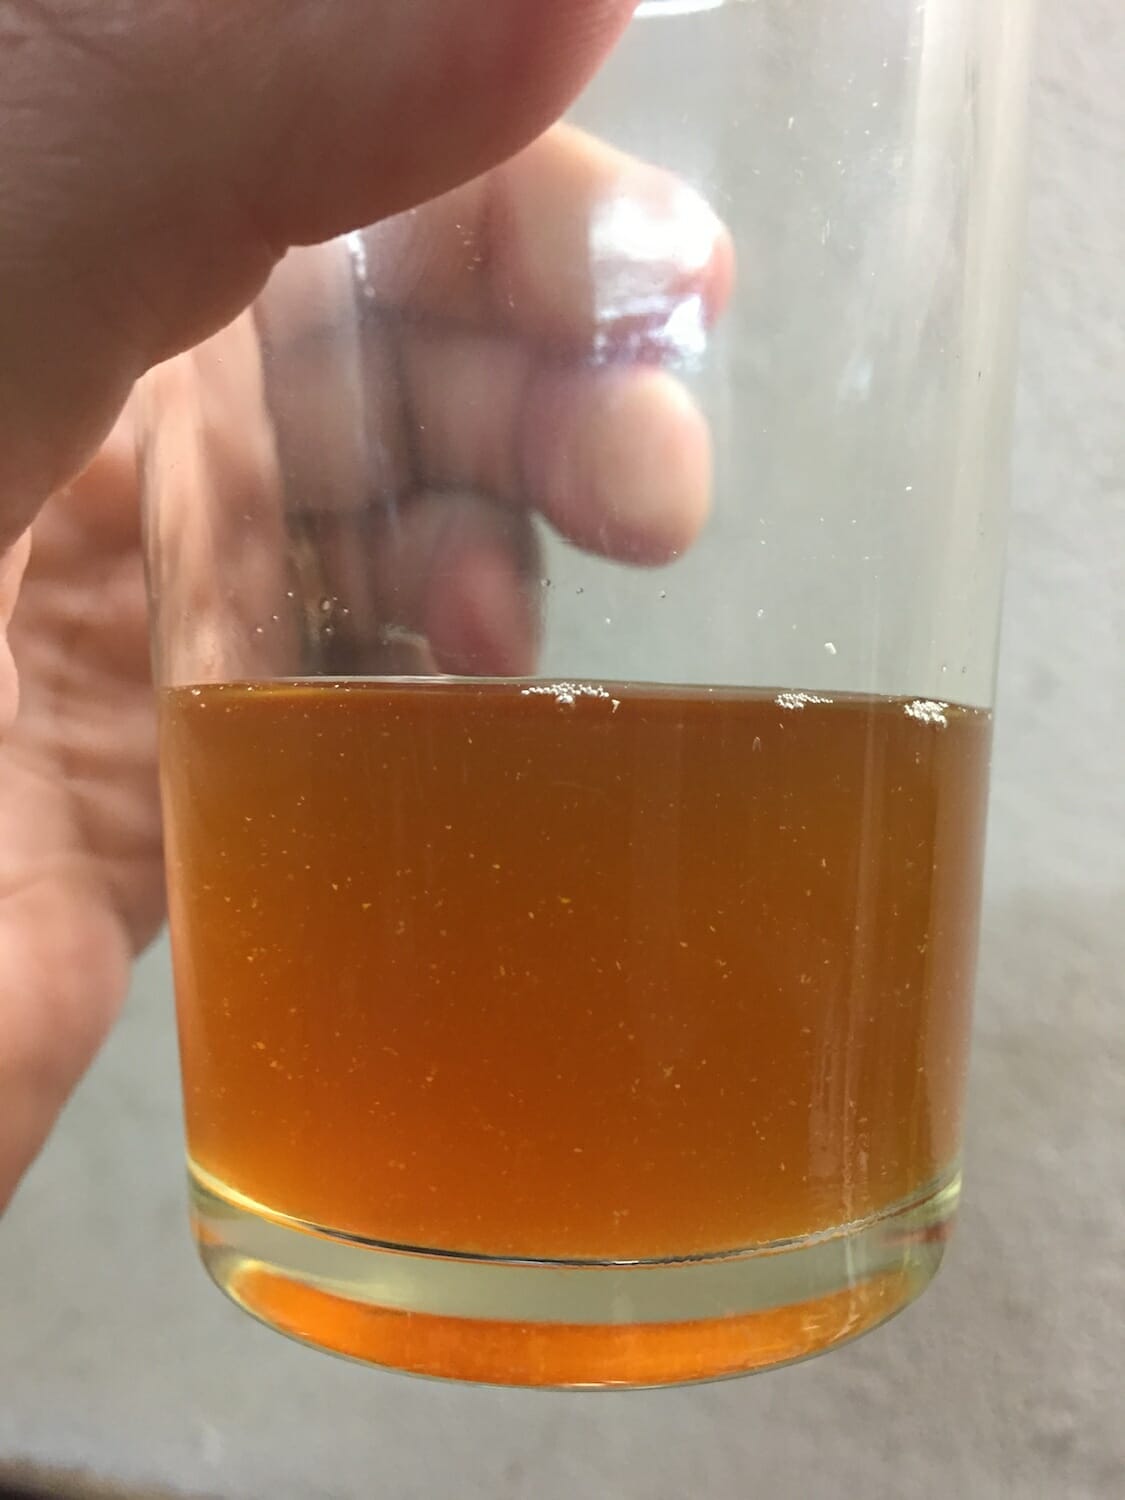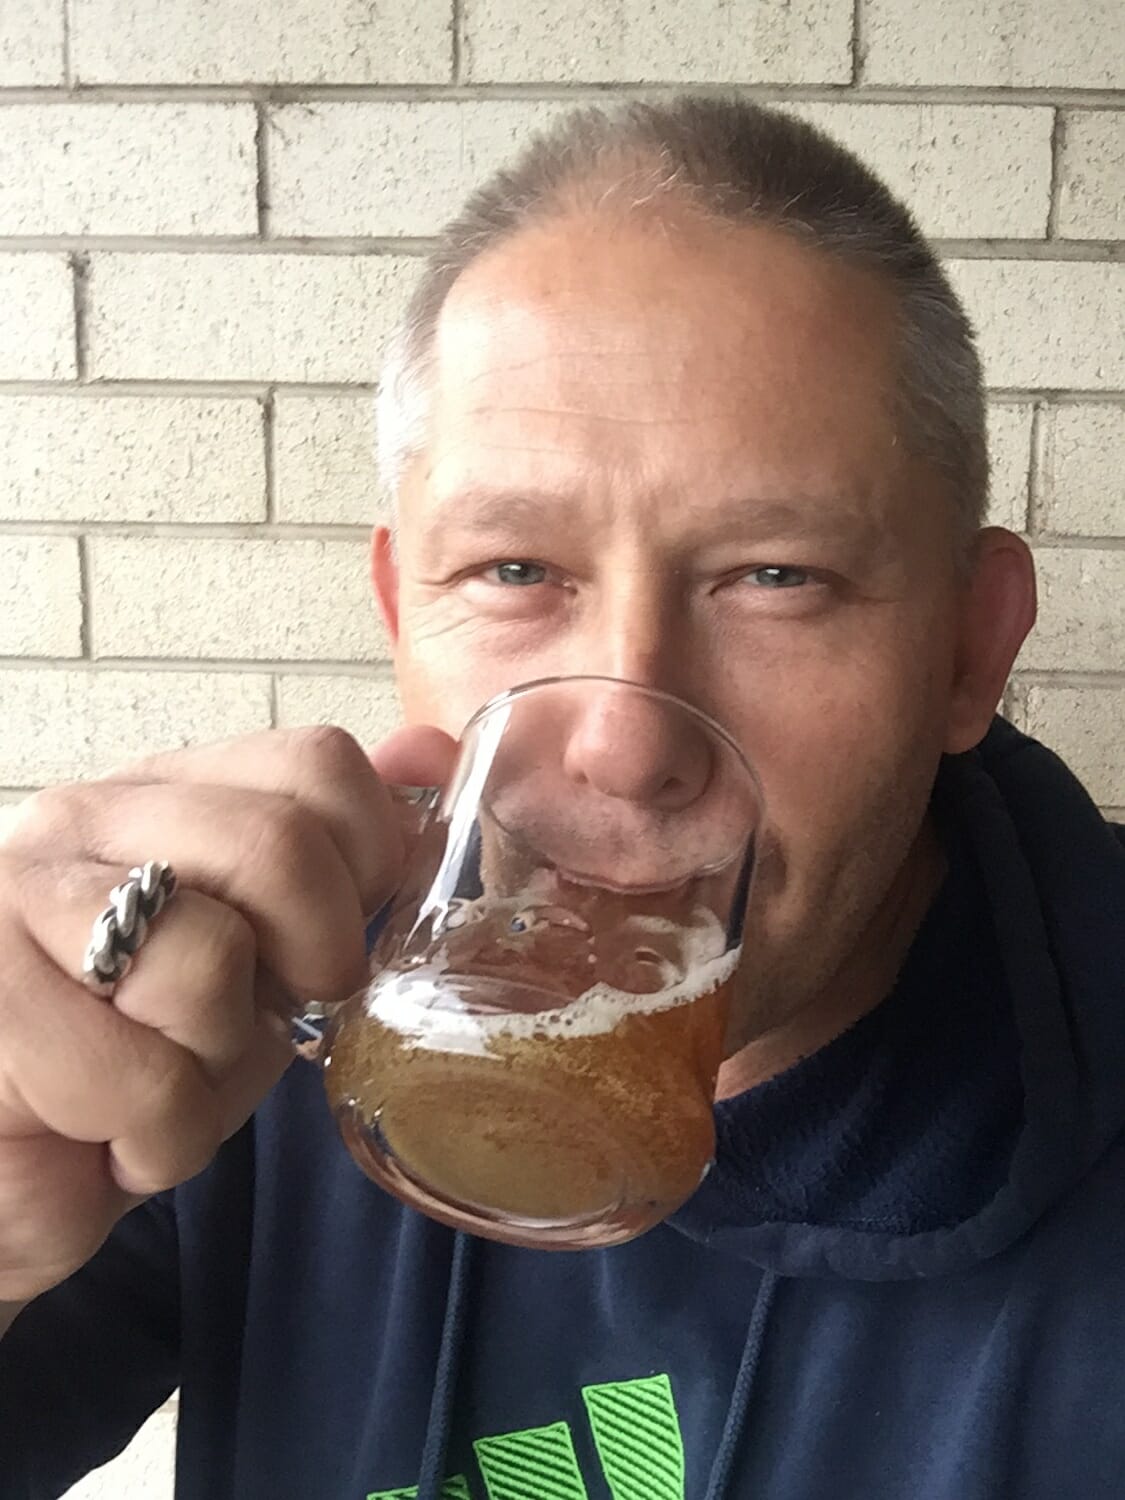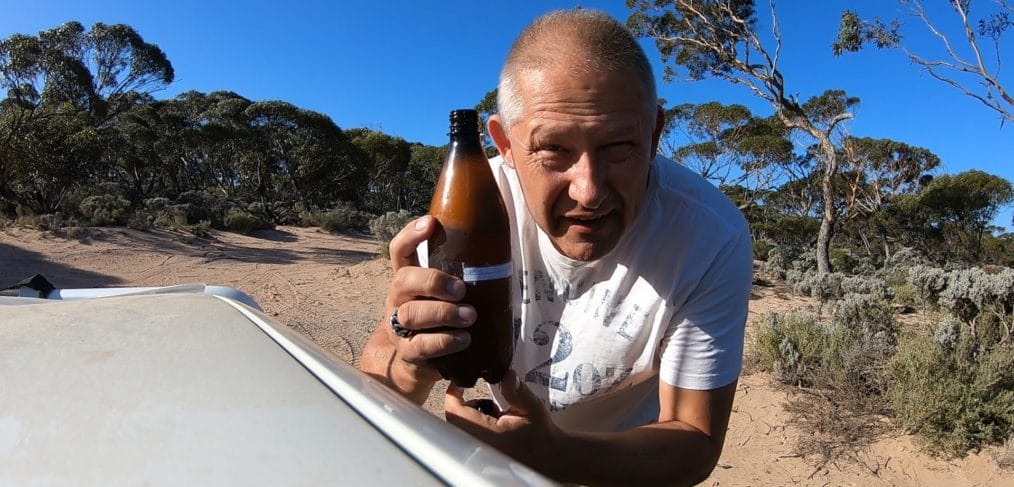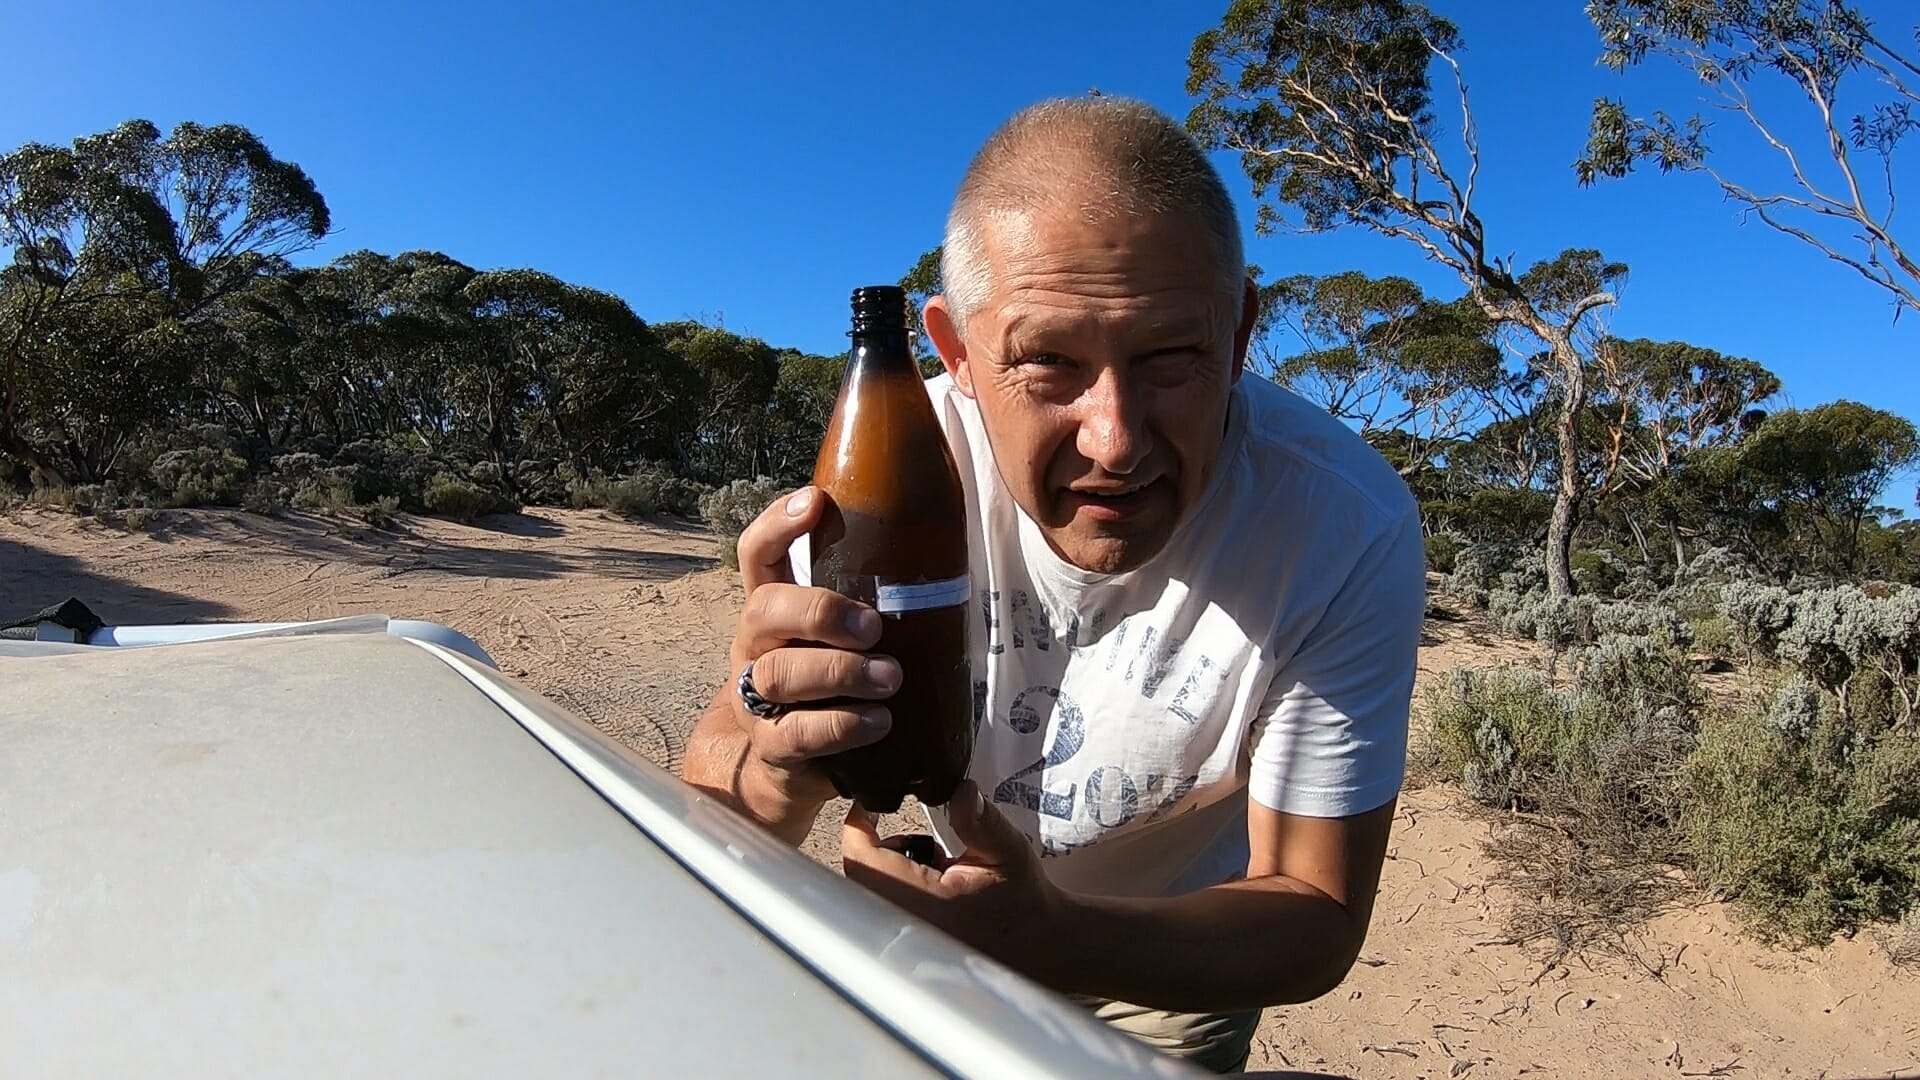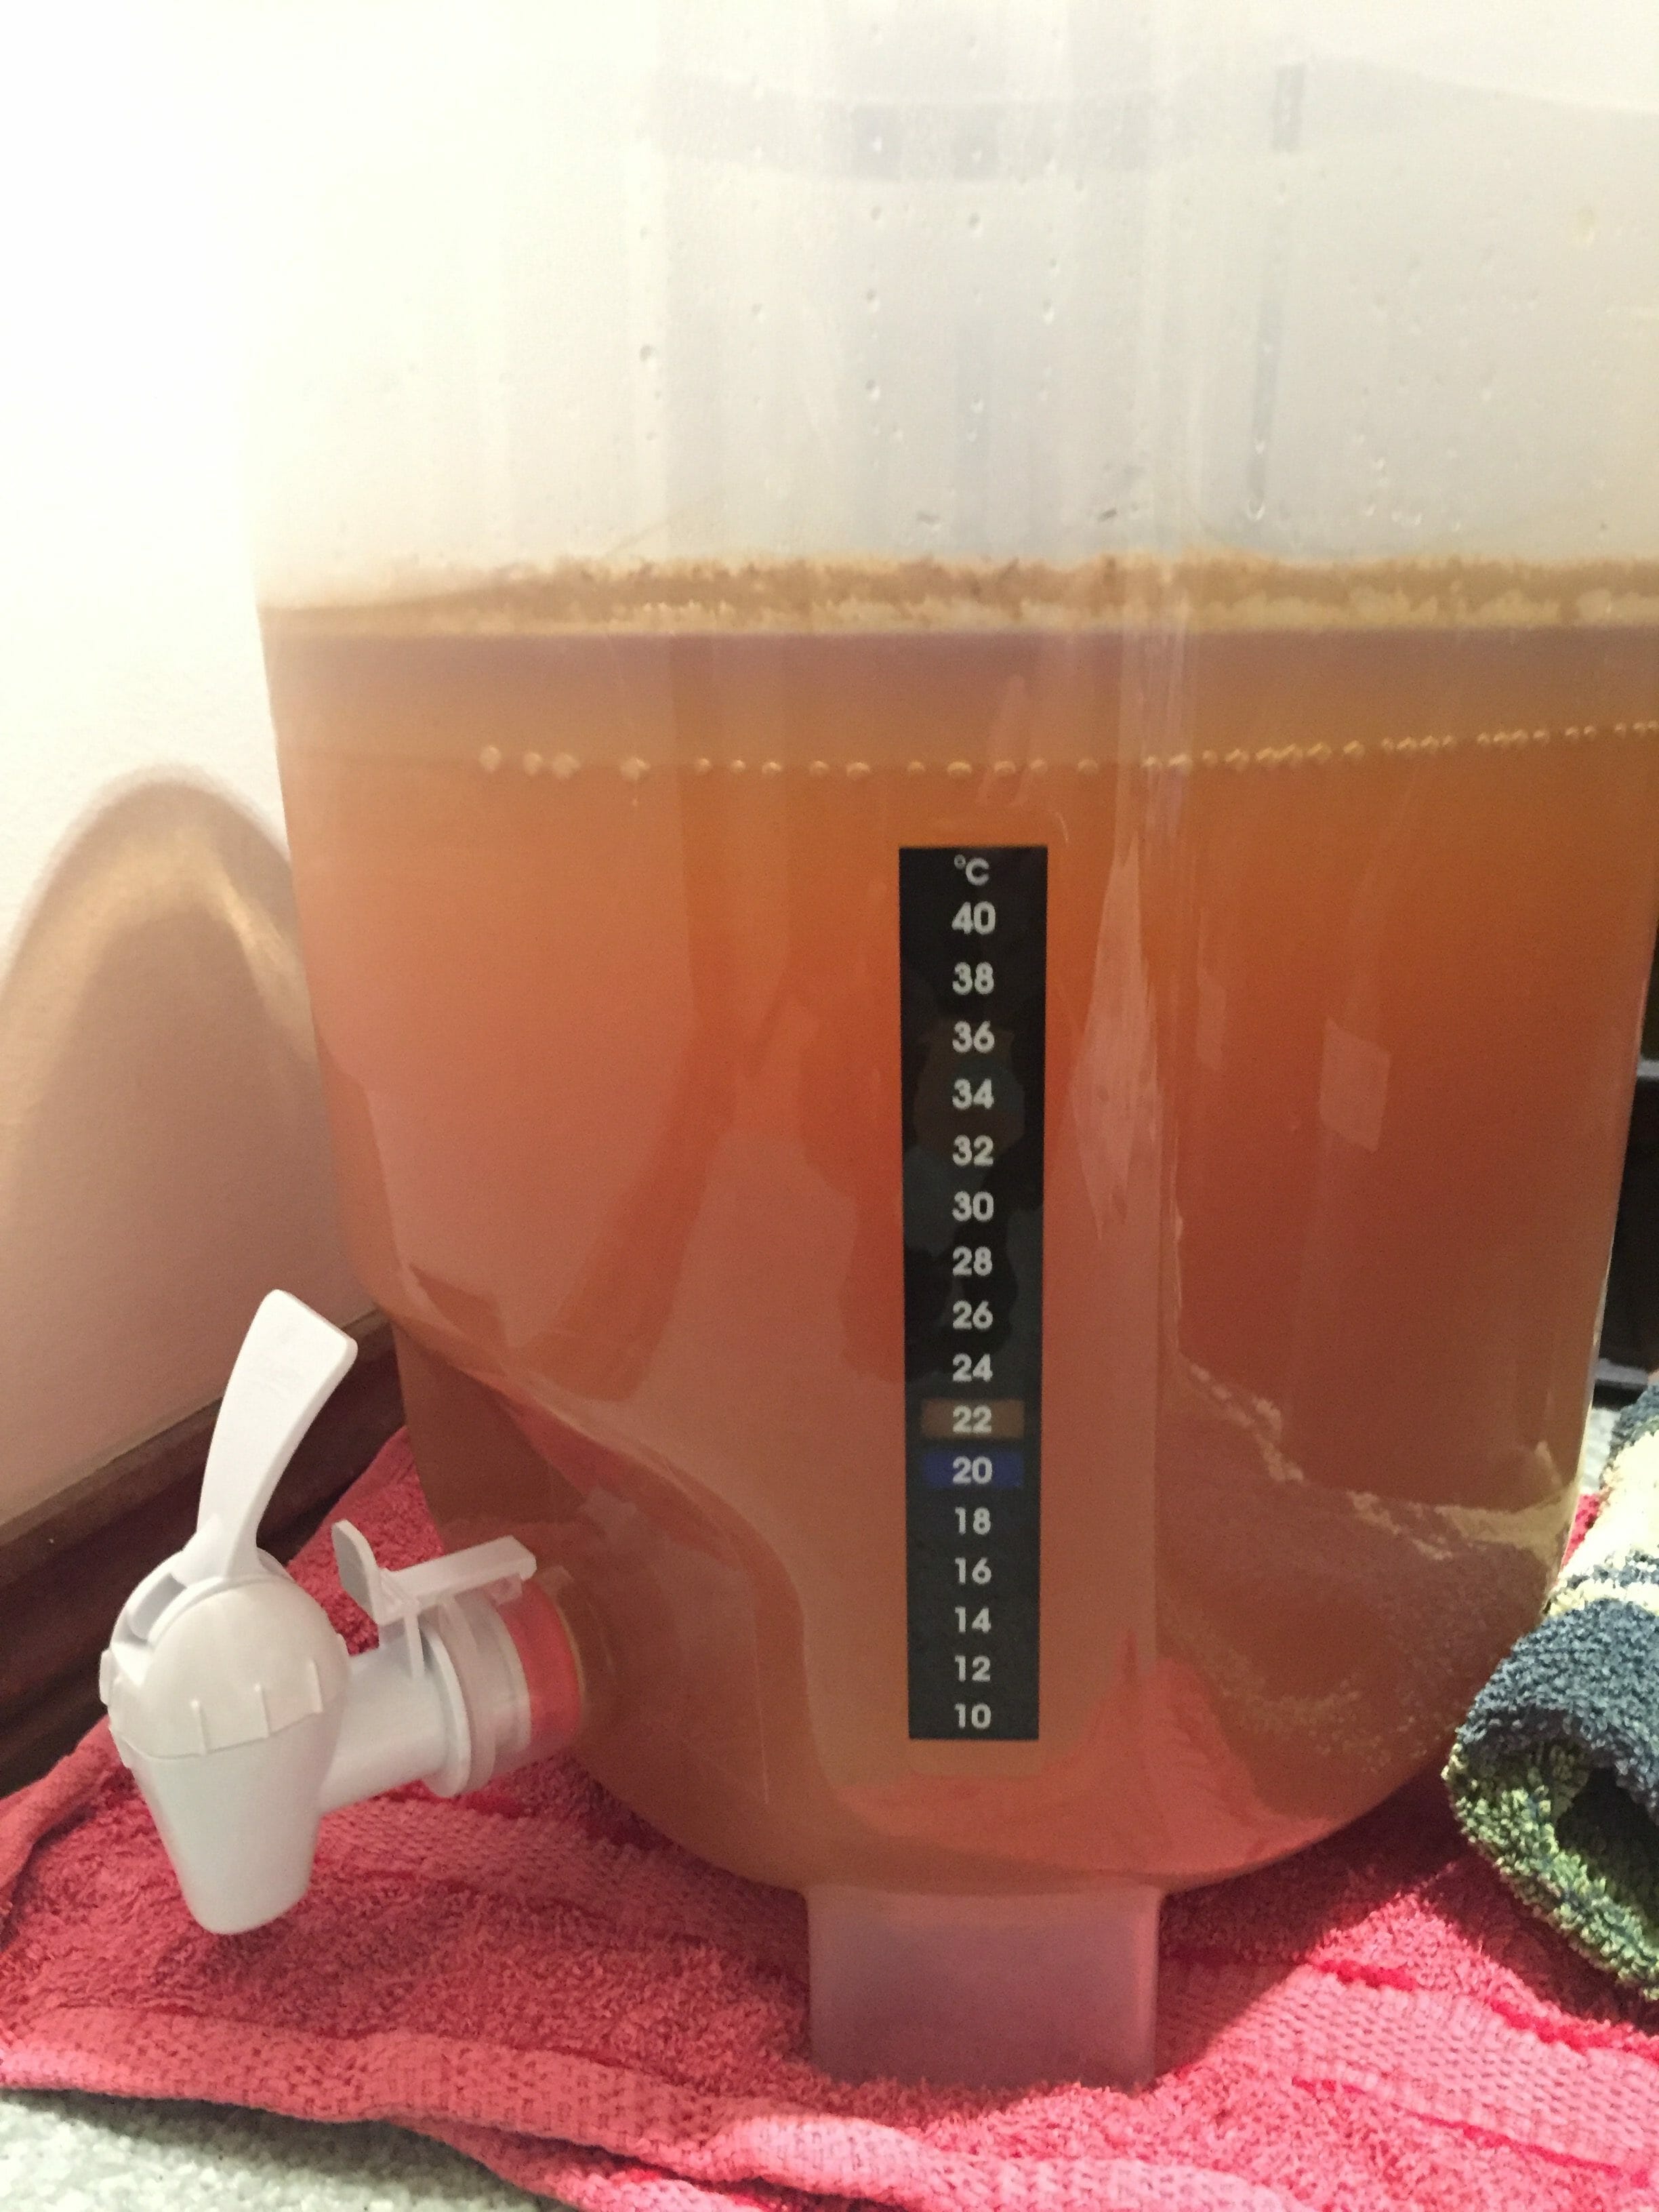
By more coincidence than good planning, the Pale Ale I brewed back on 9th July was bottled today, on appropriately enough, International Beer Day. I’ve left it more than long enough in the fermenter, but that hasn’t hurt, and may actually have improved it. It tastes great today, albeit flat as hell straight out of the fermenter on a cold winter’s day in Kendenup, WA where we’ve parked our camper at Leonie’s sisters farm.
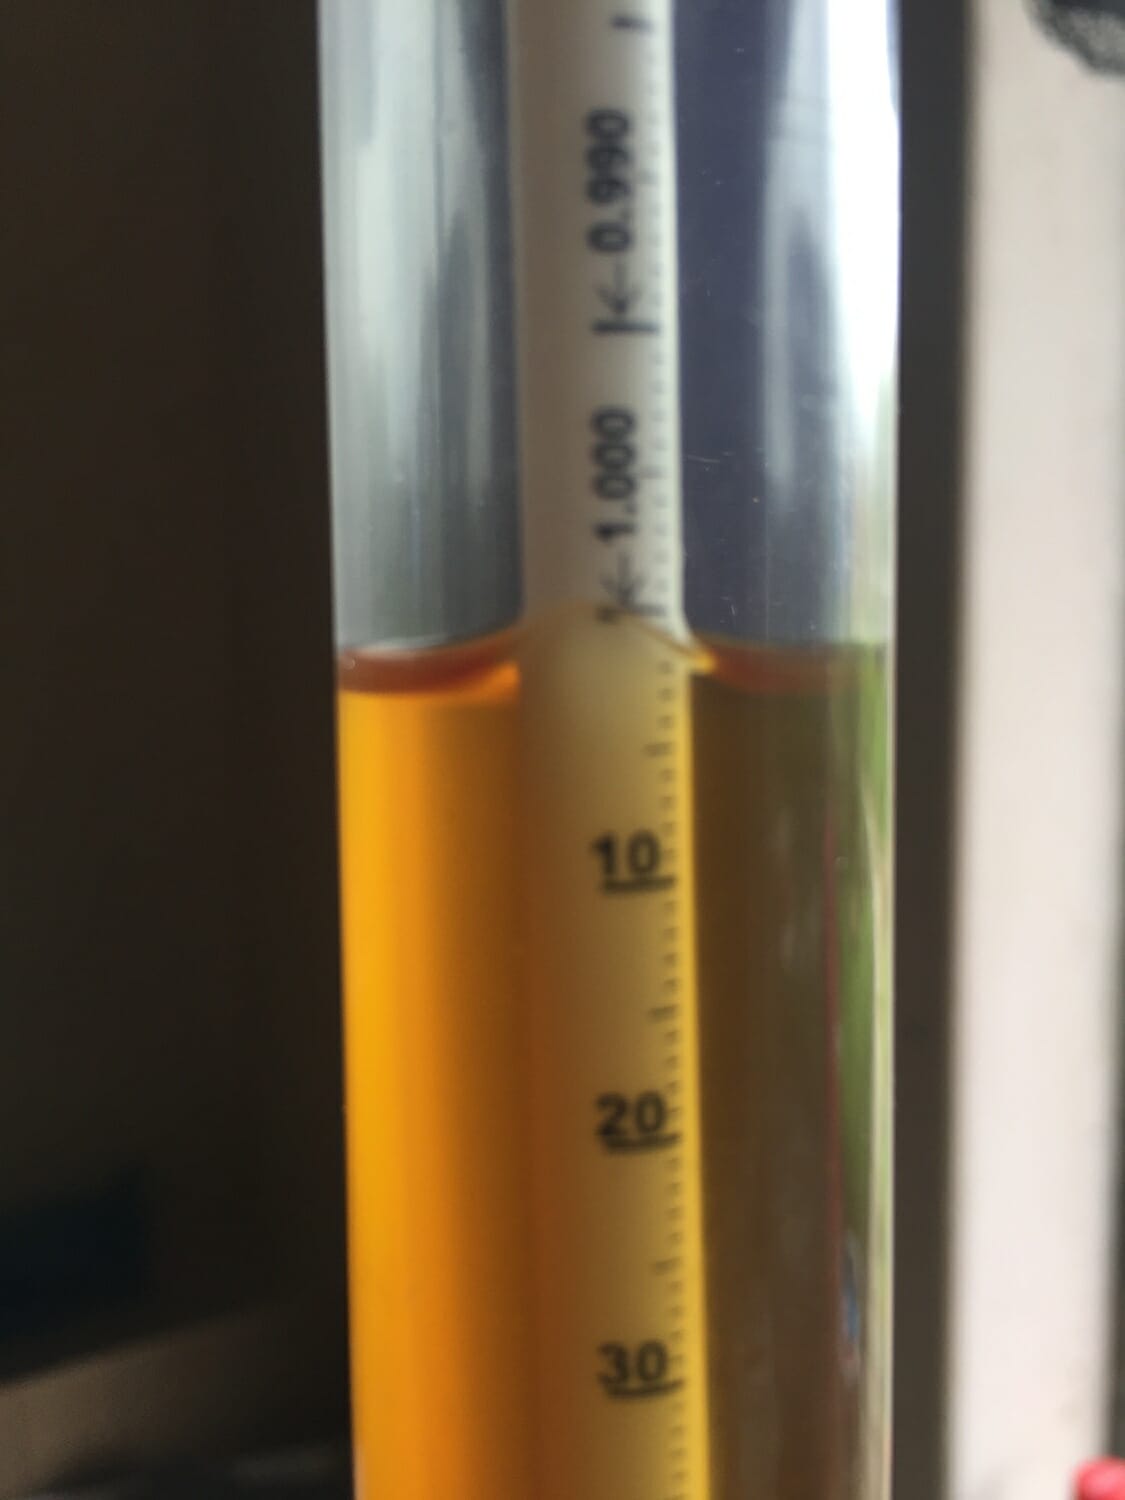
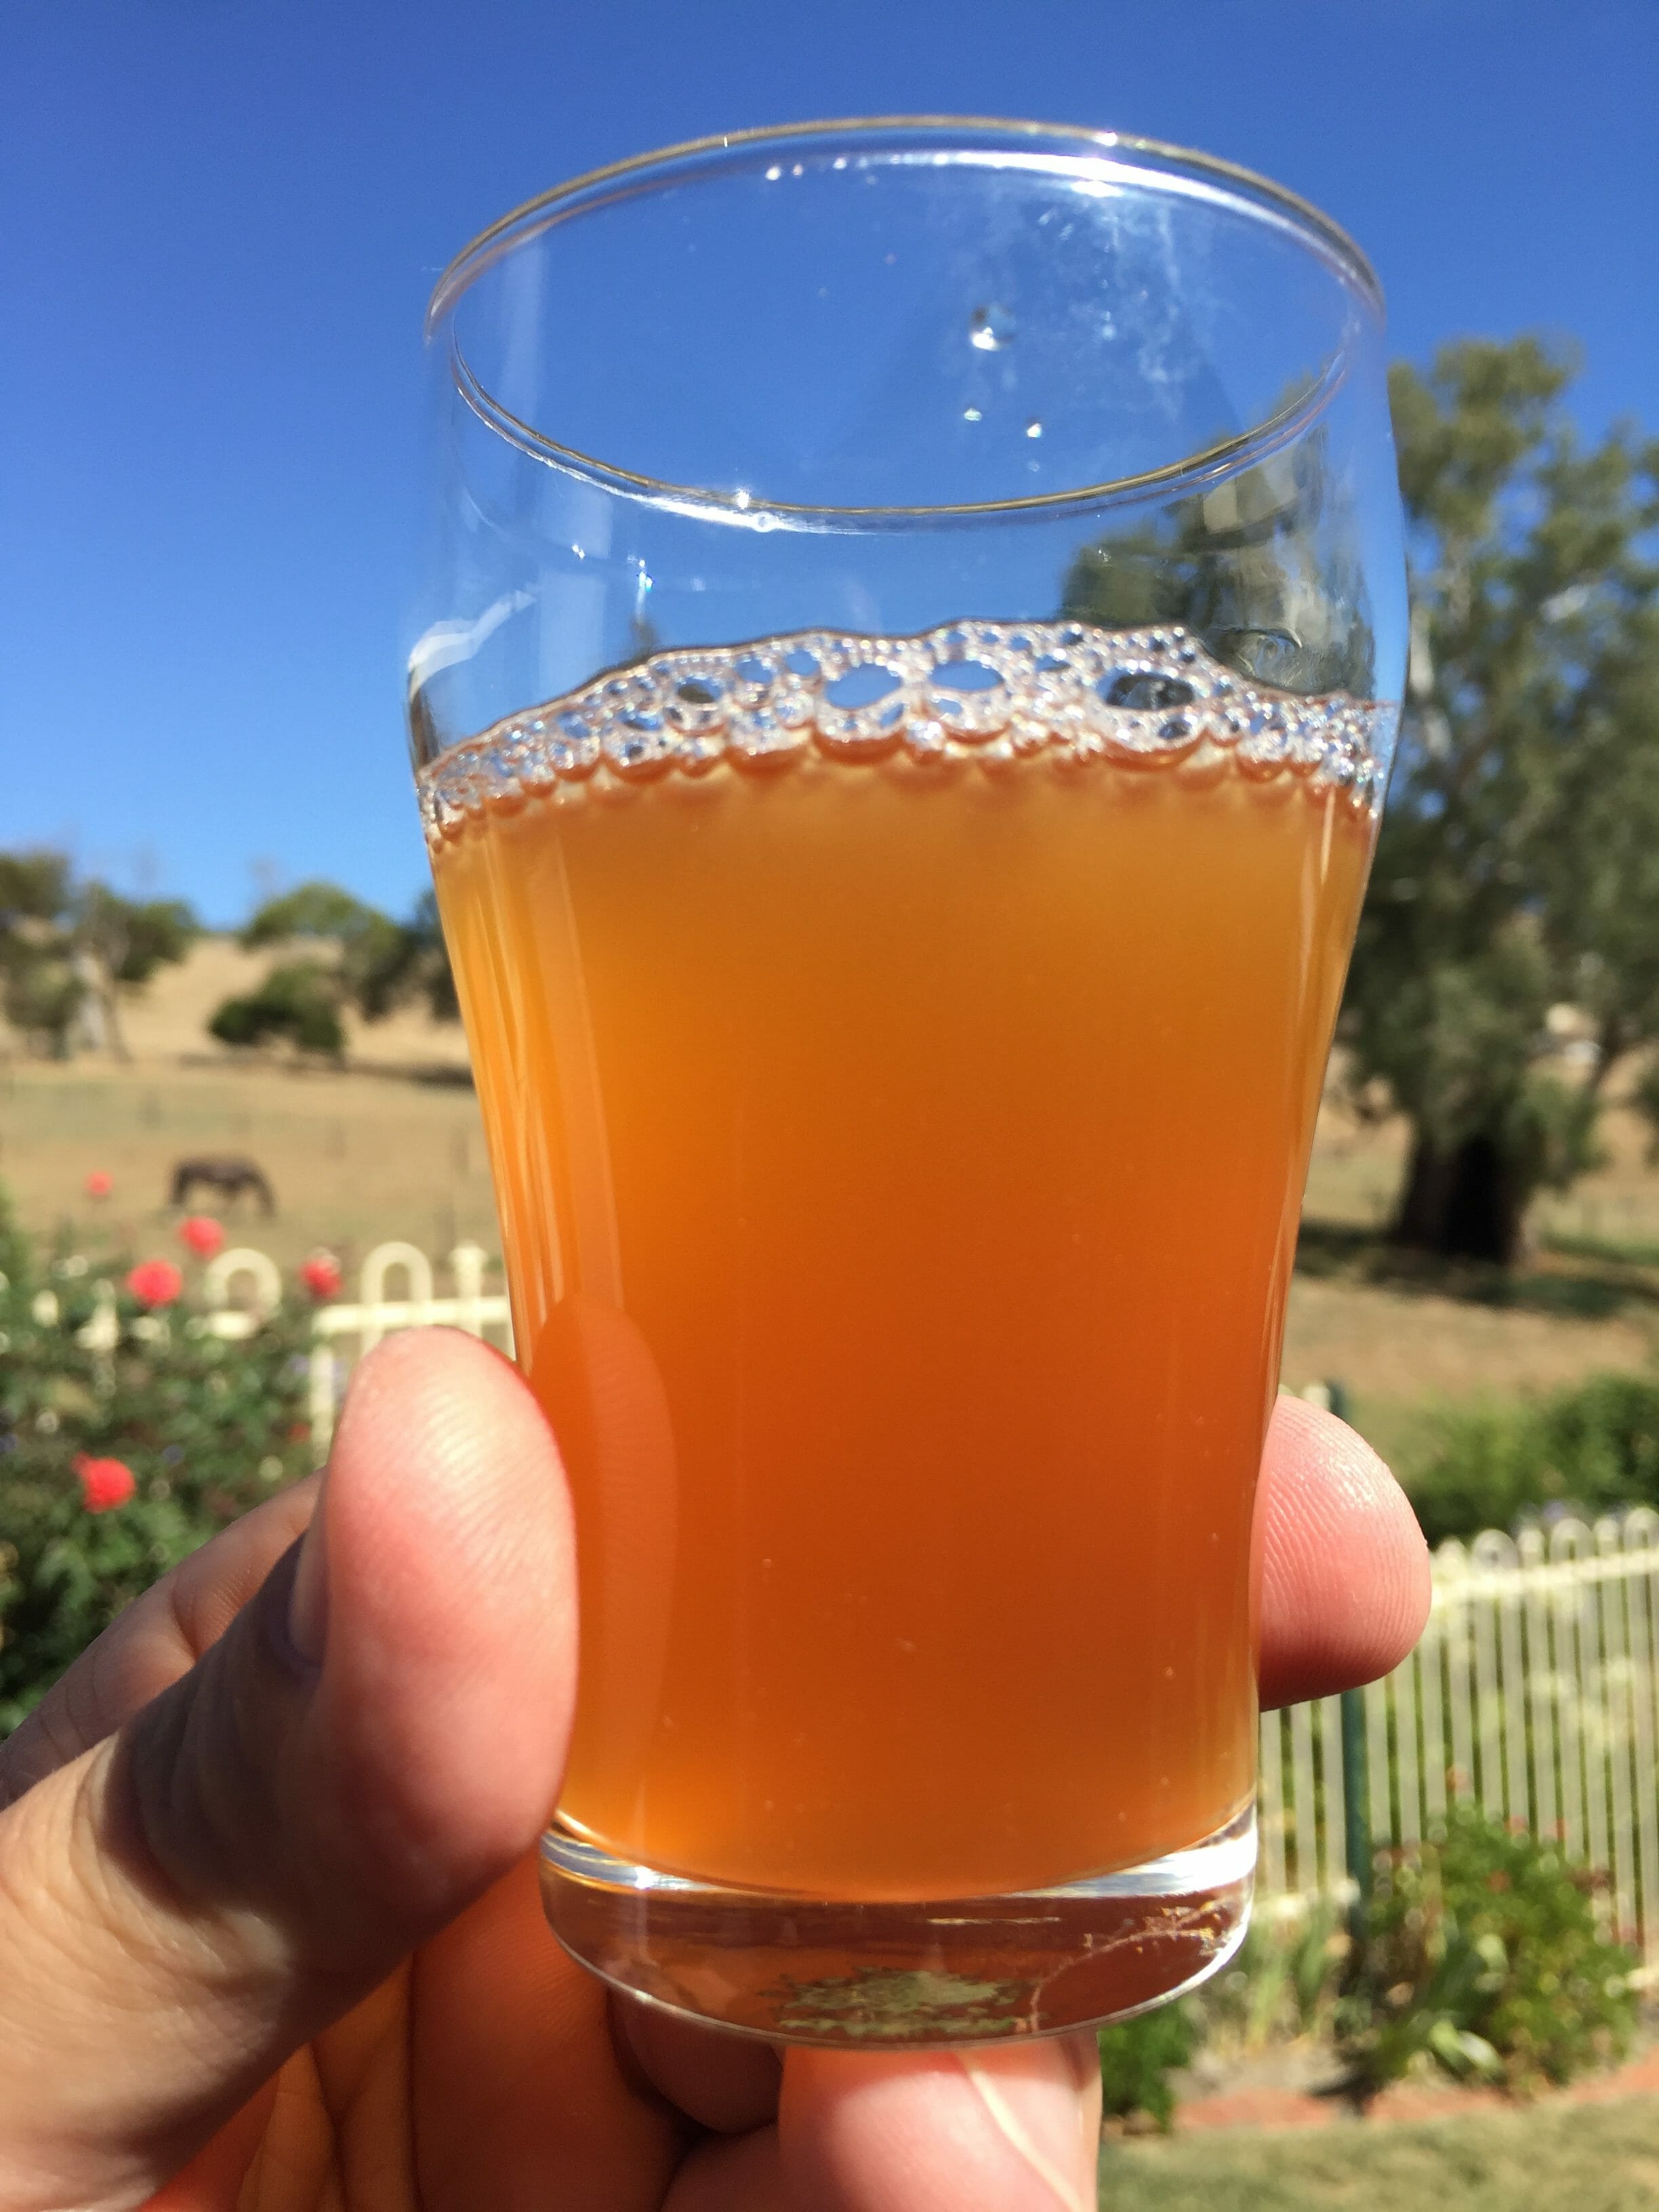
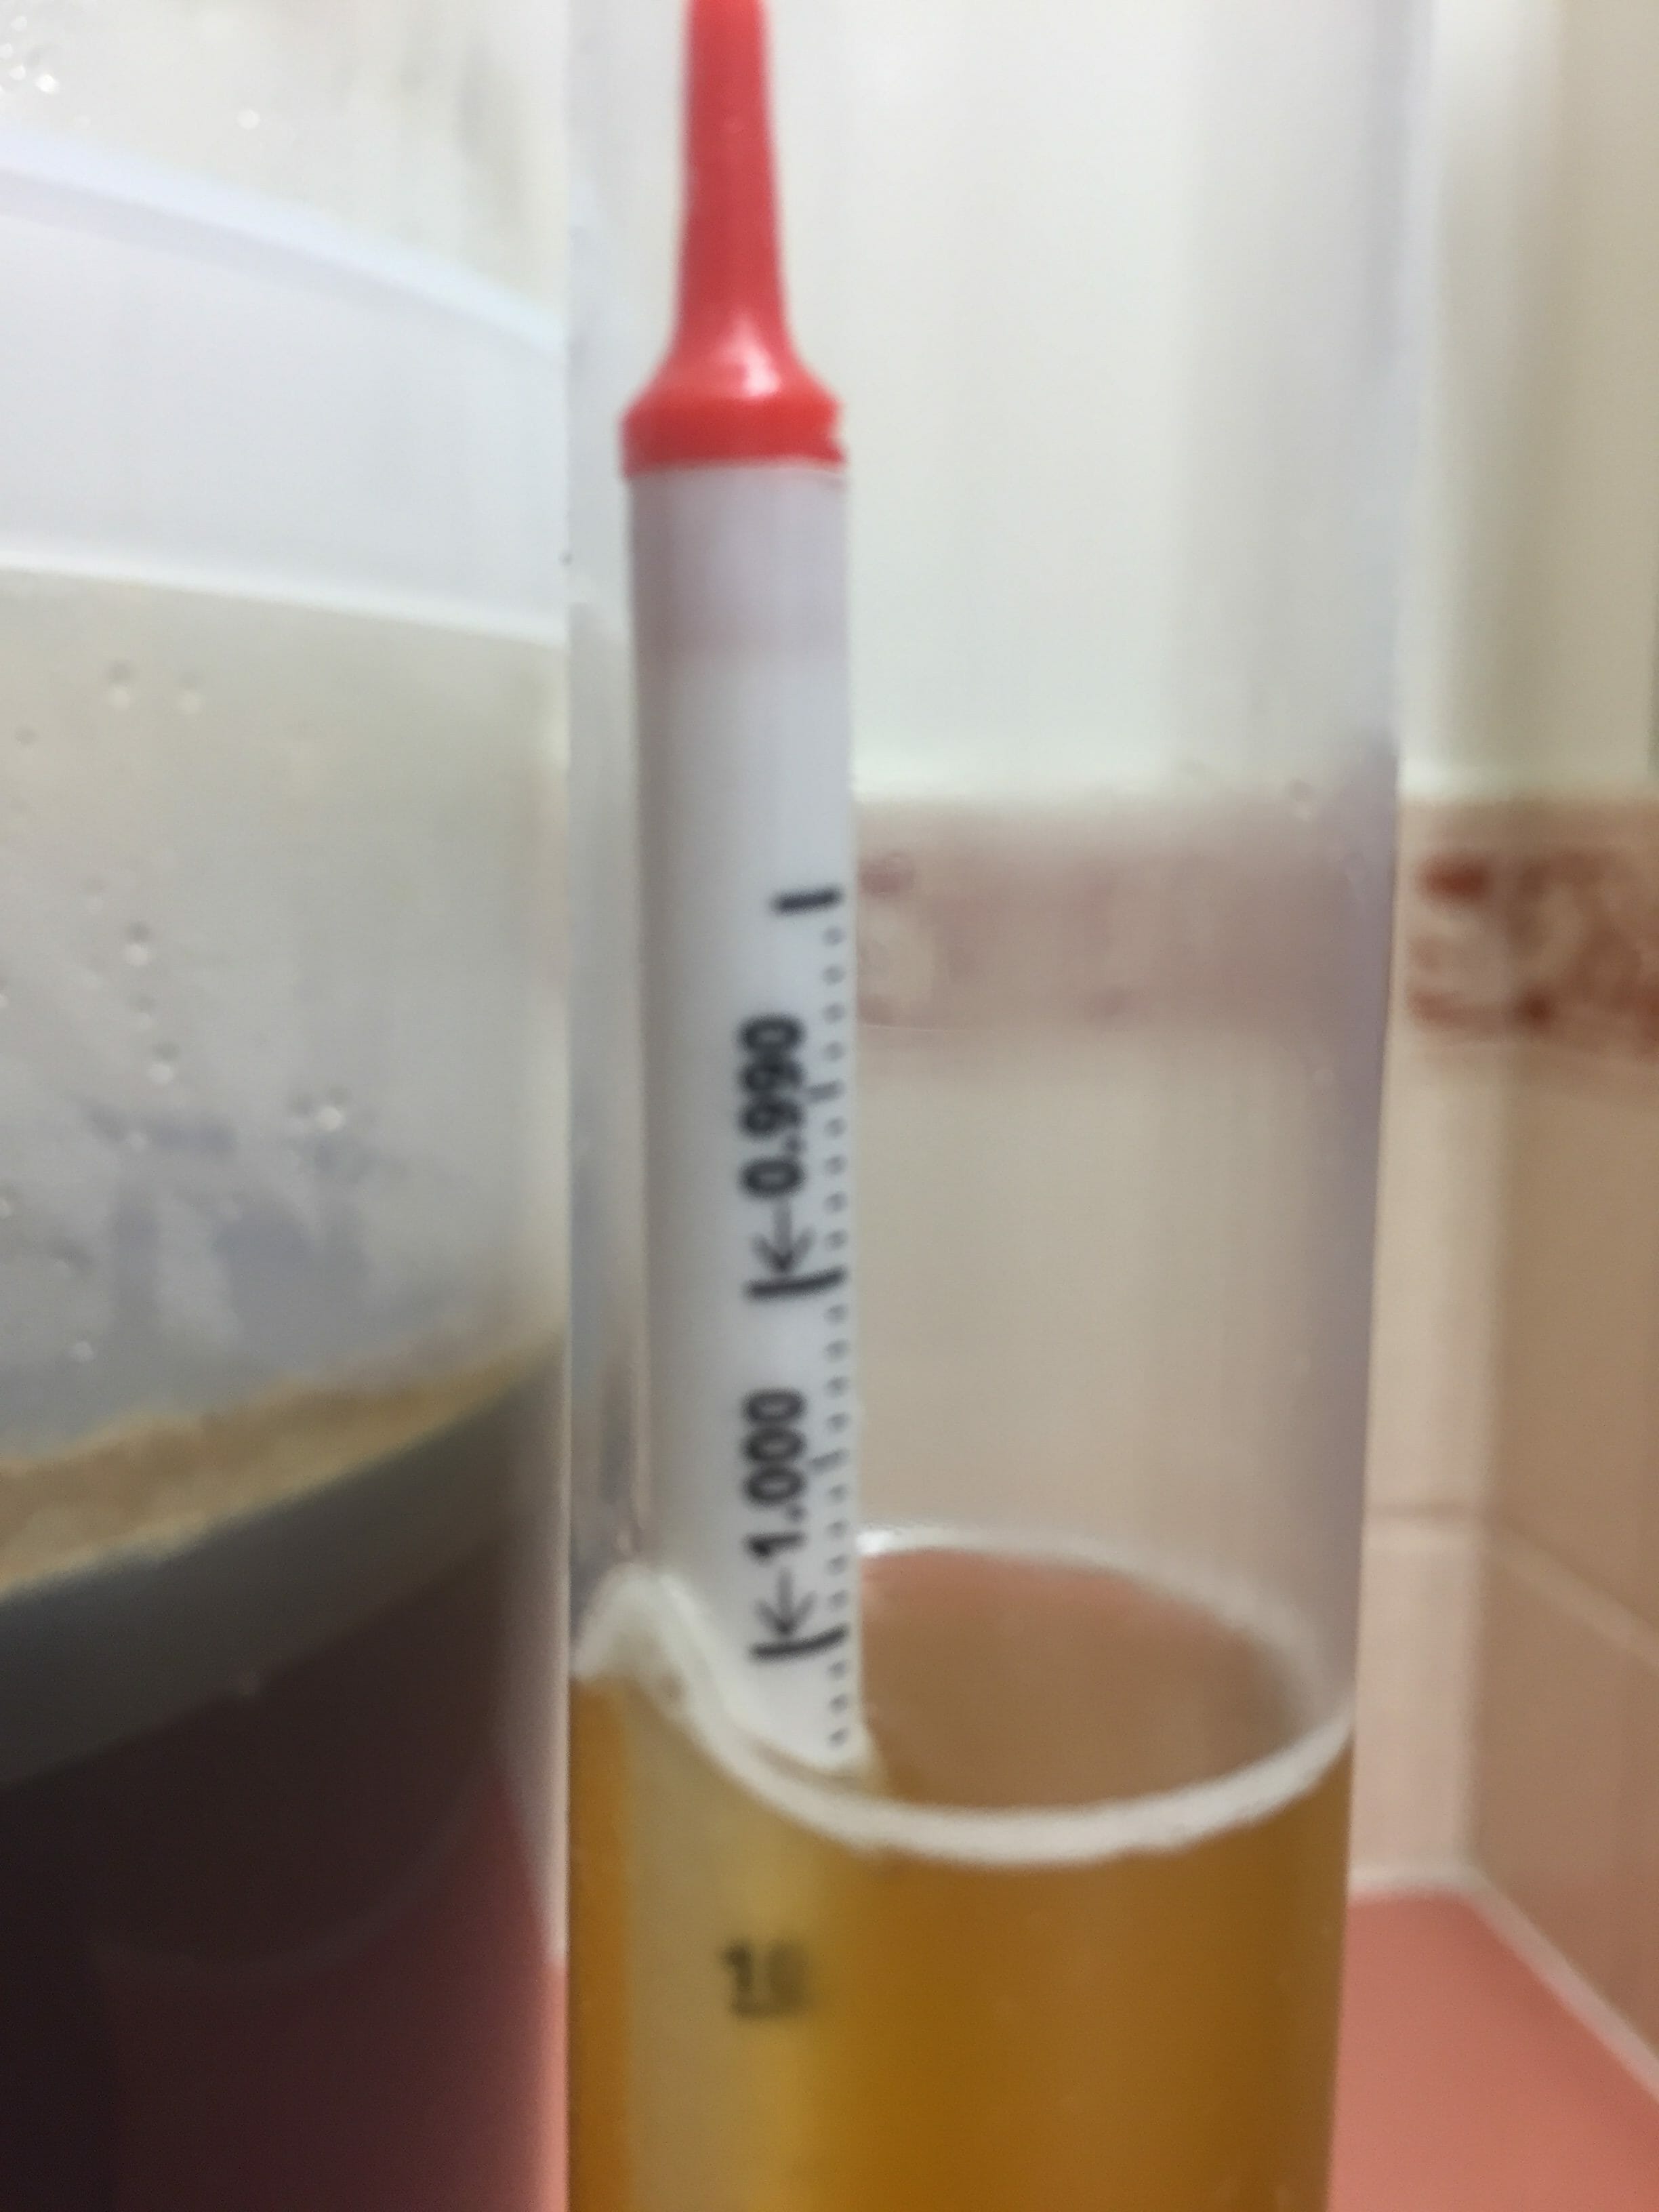
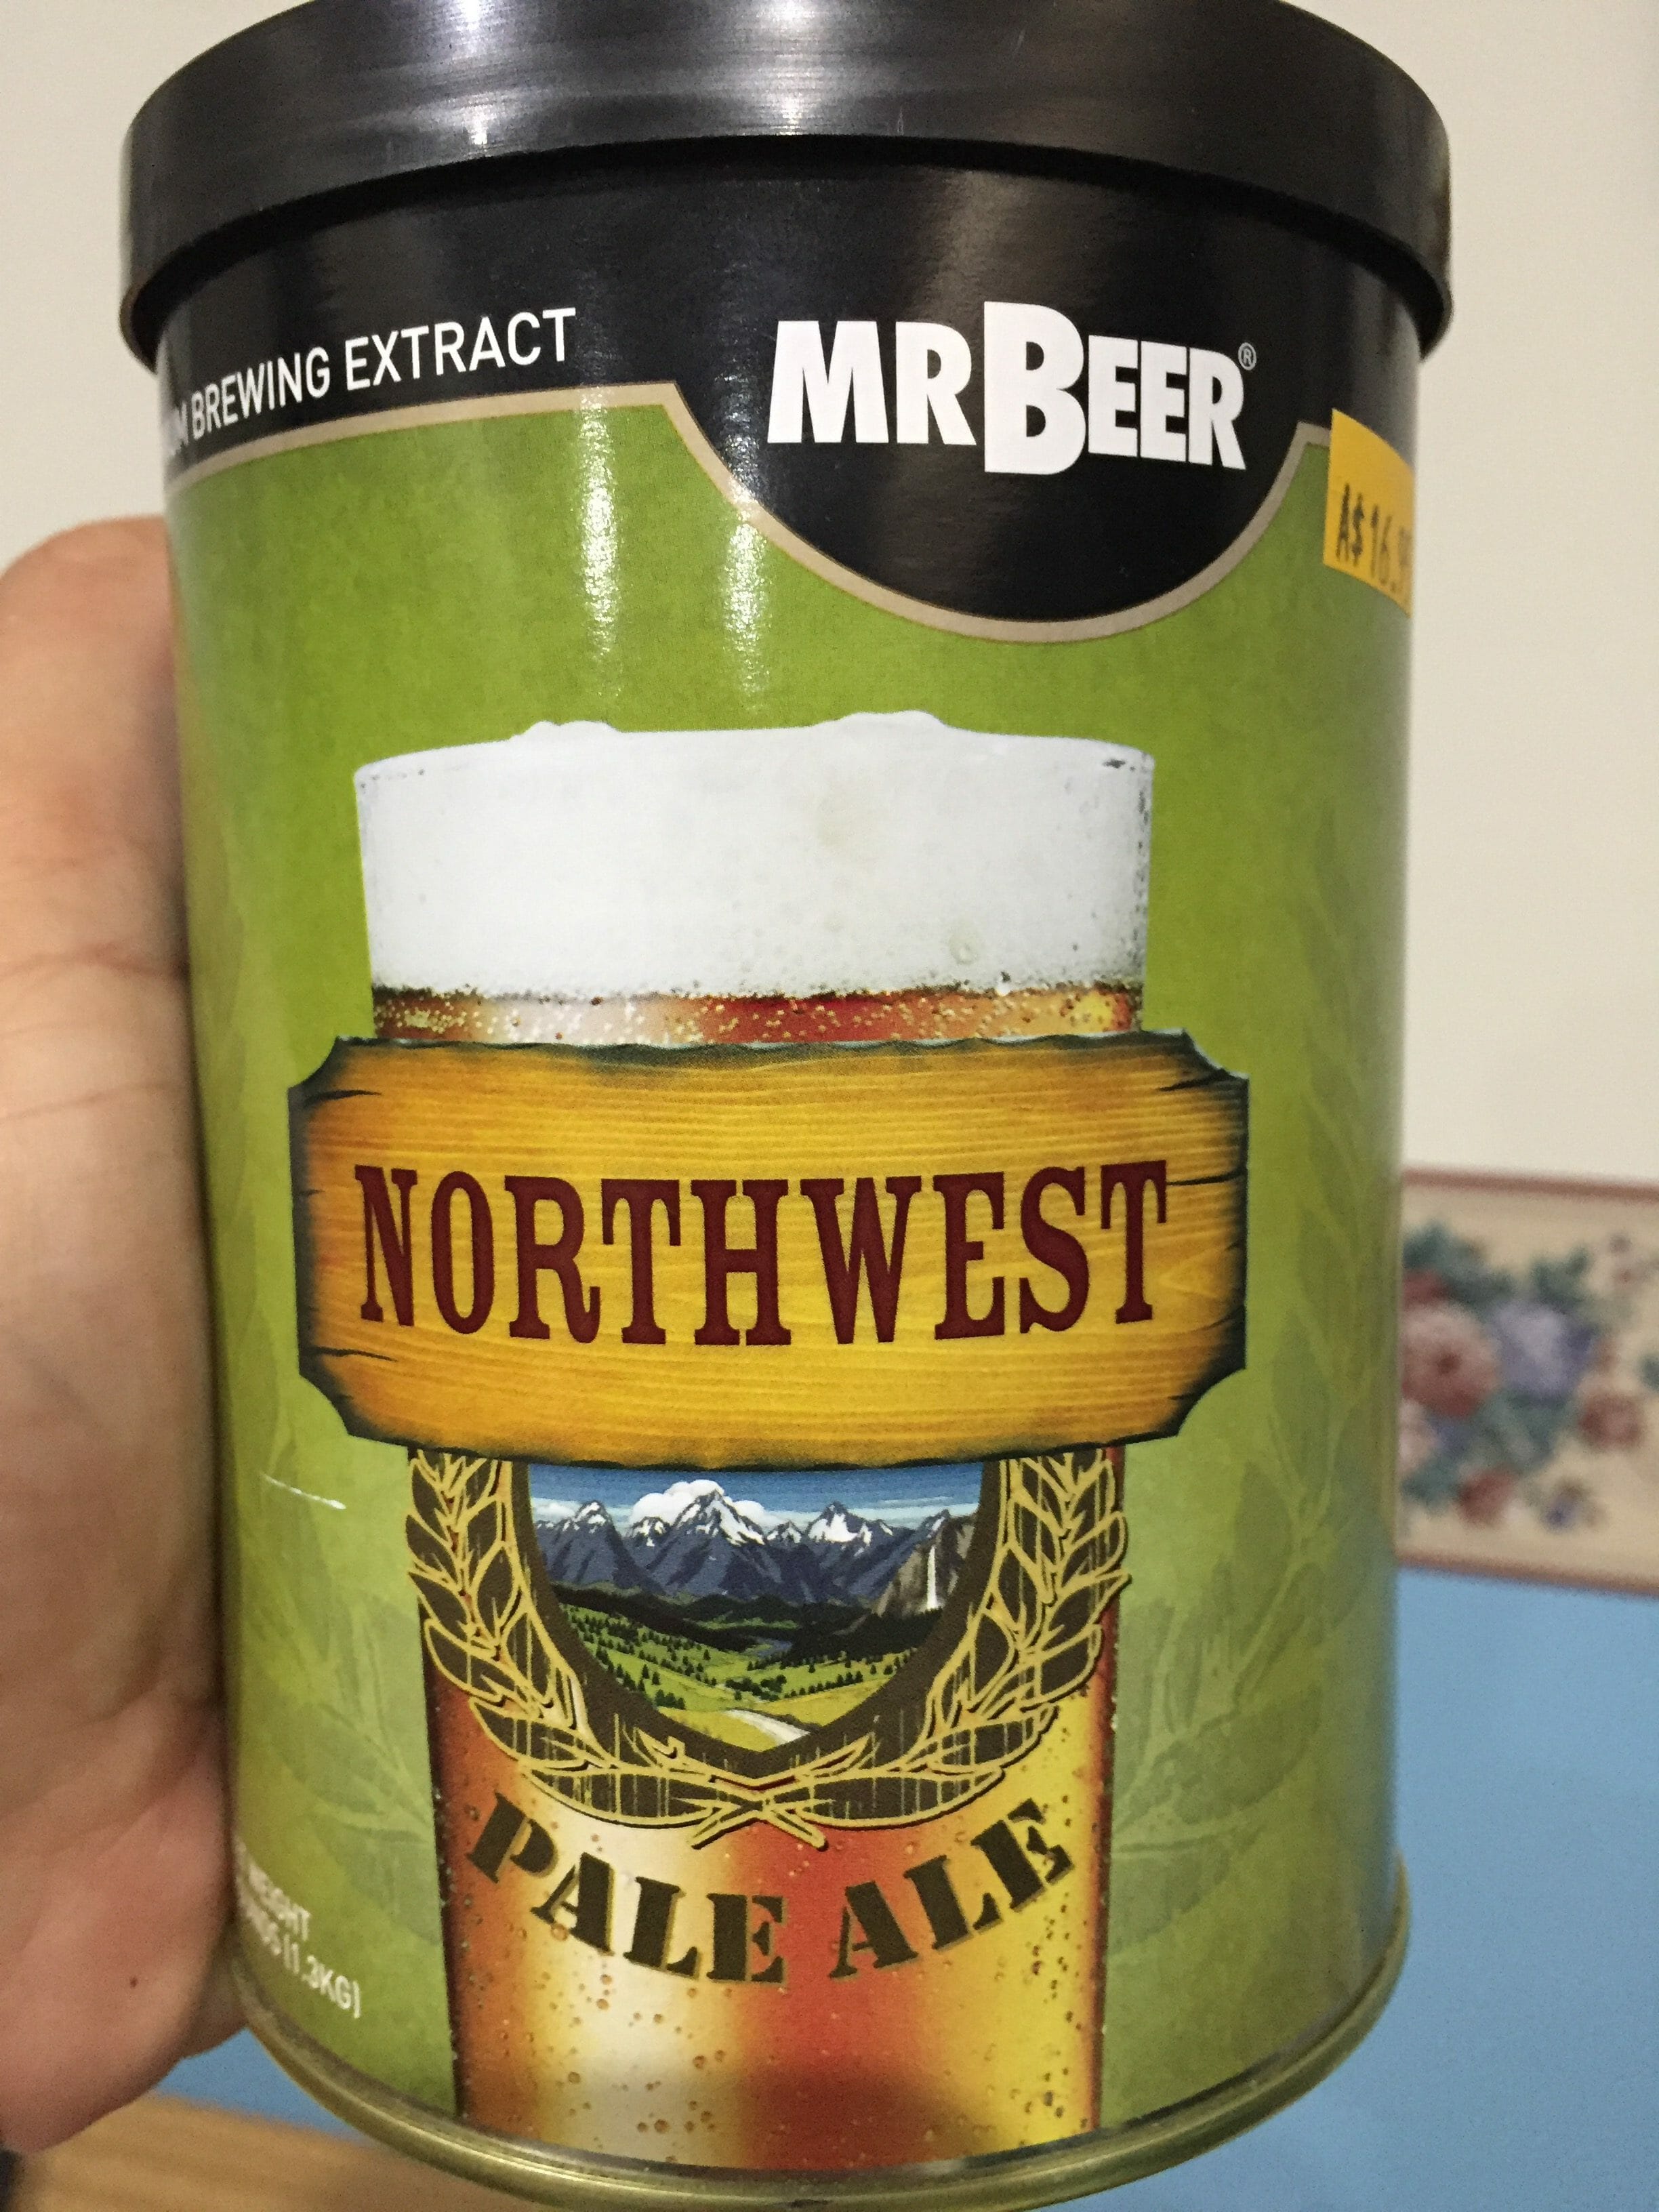
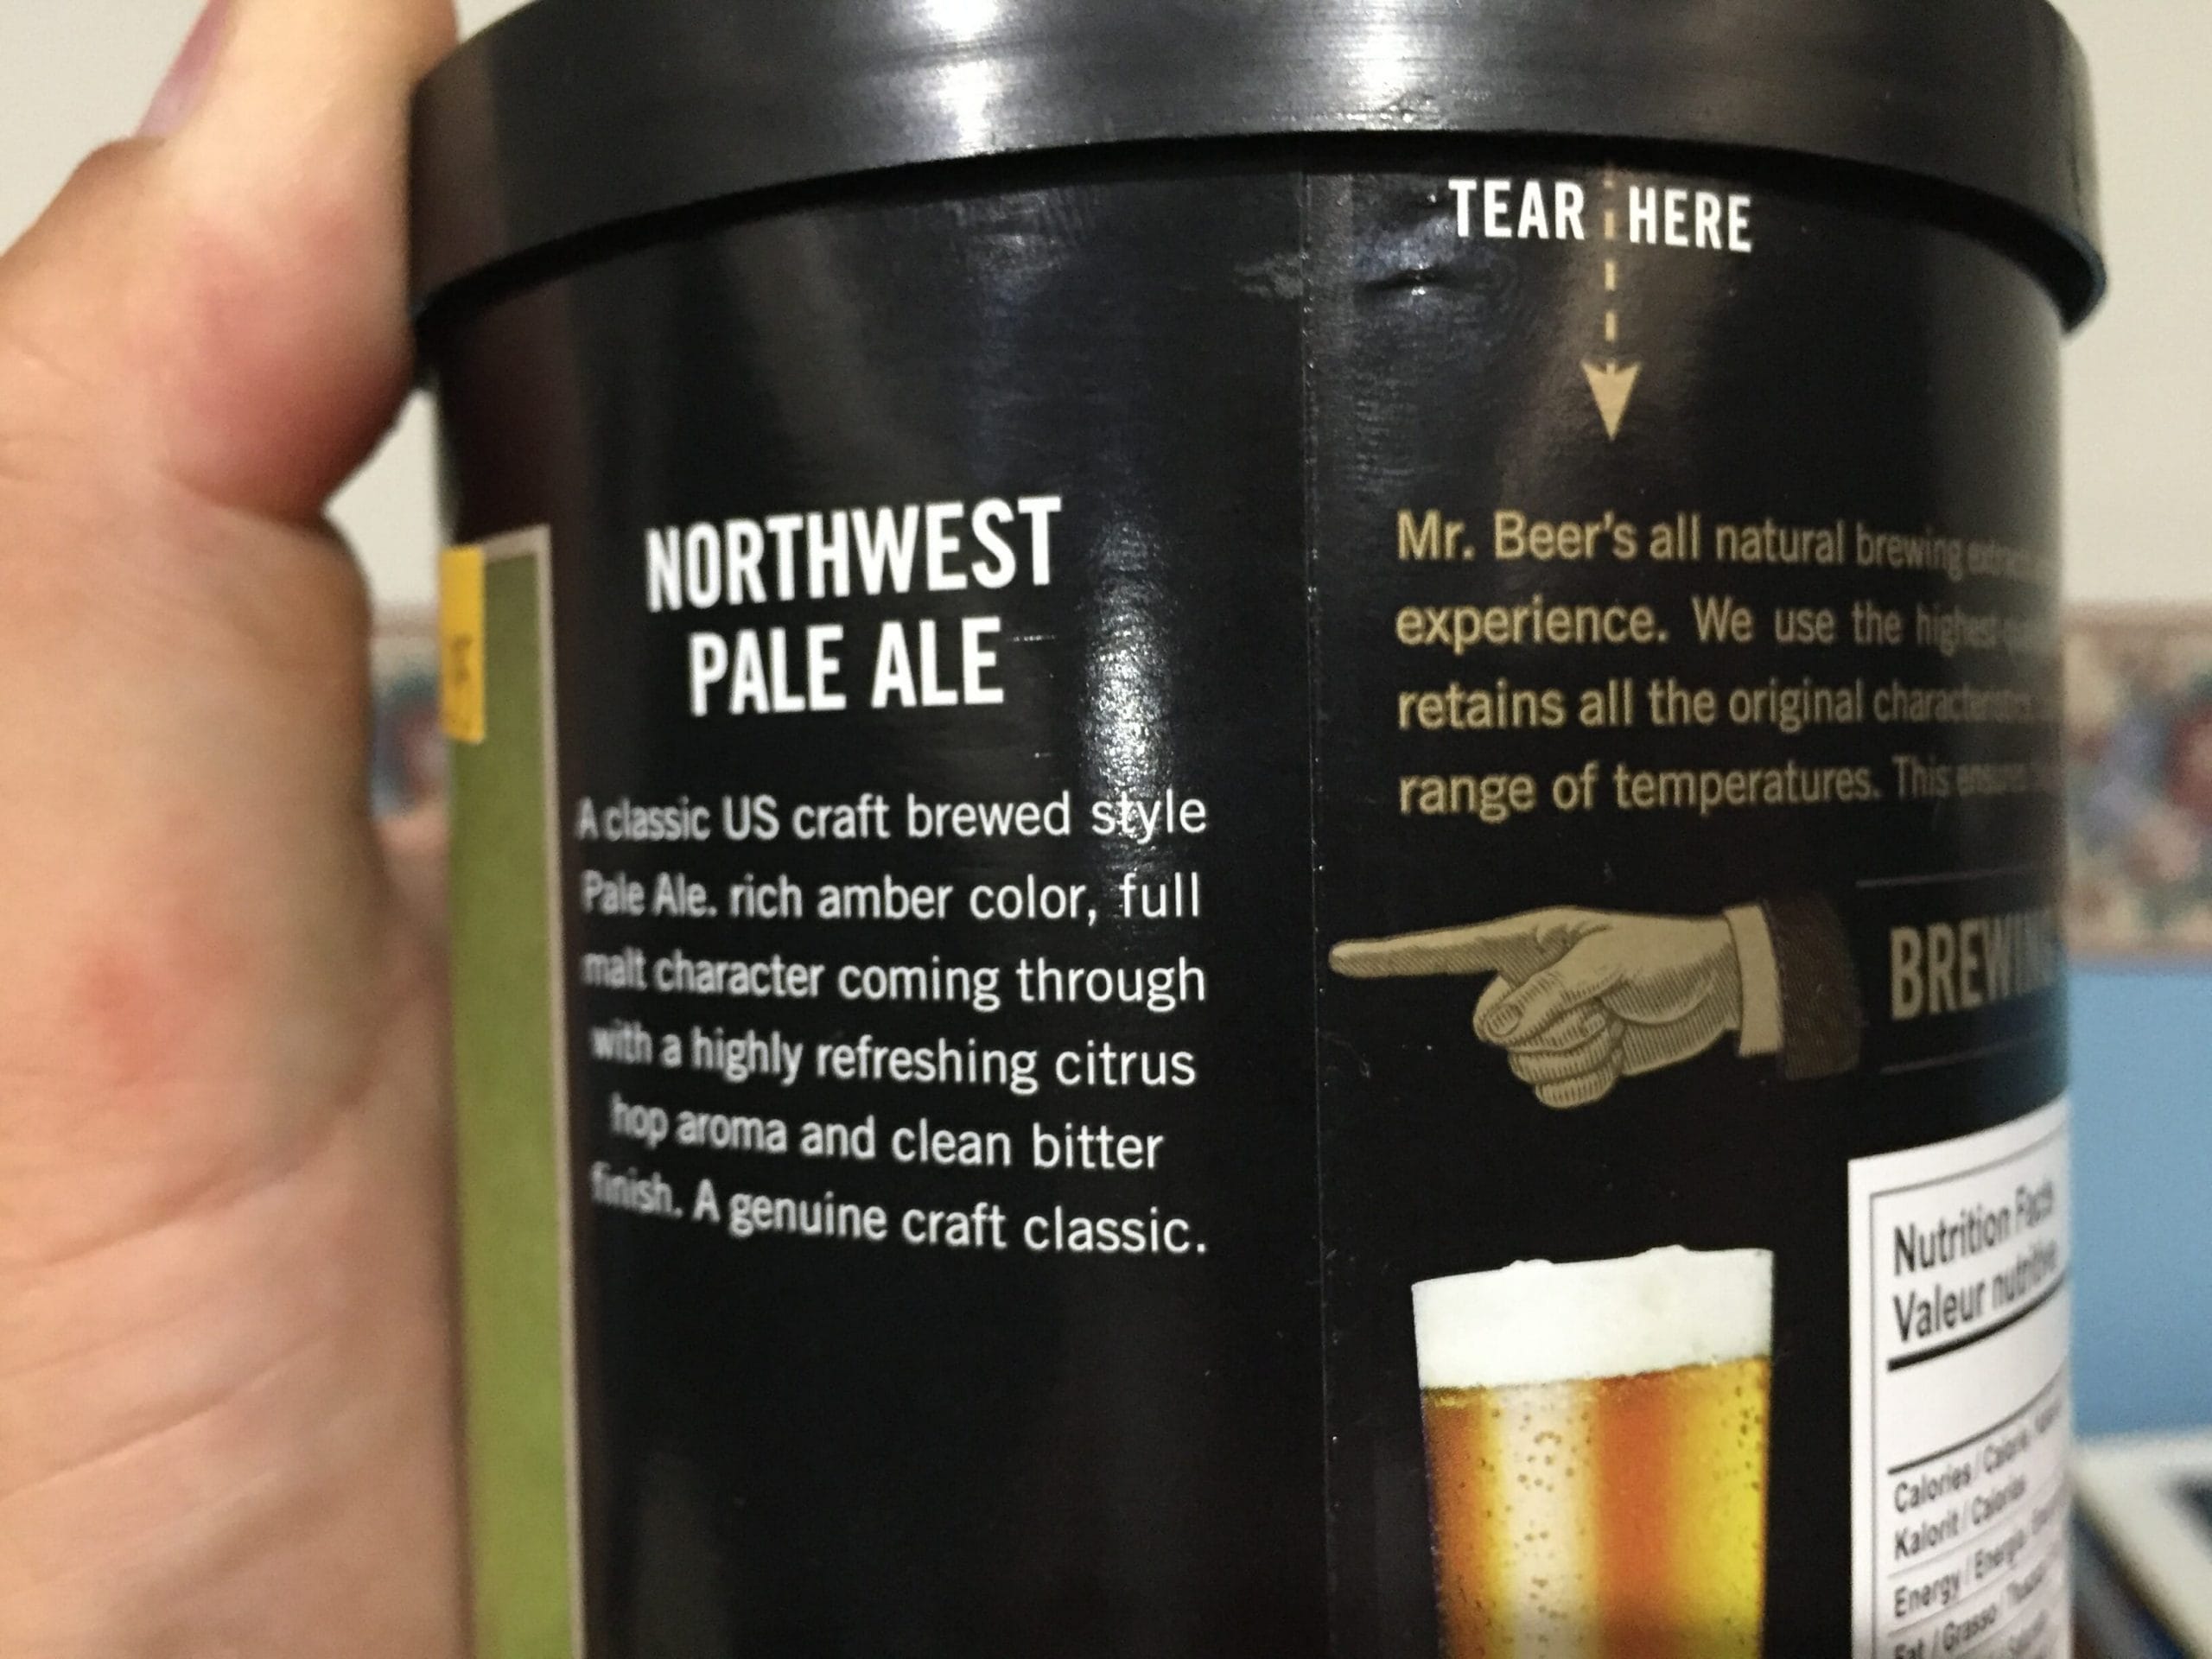
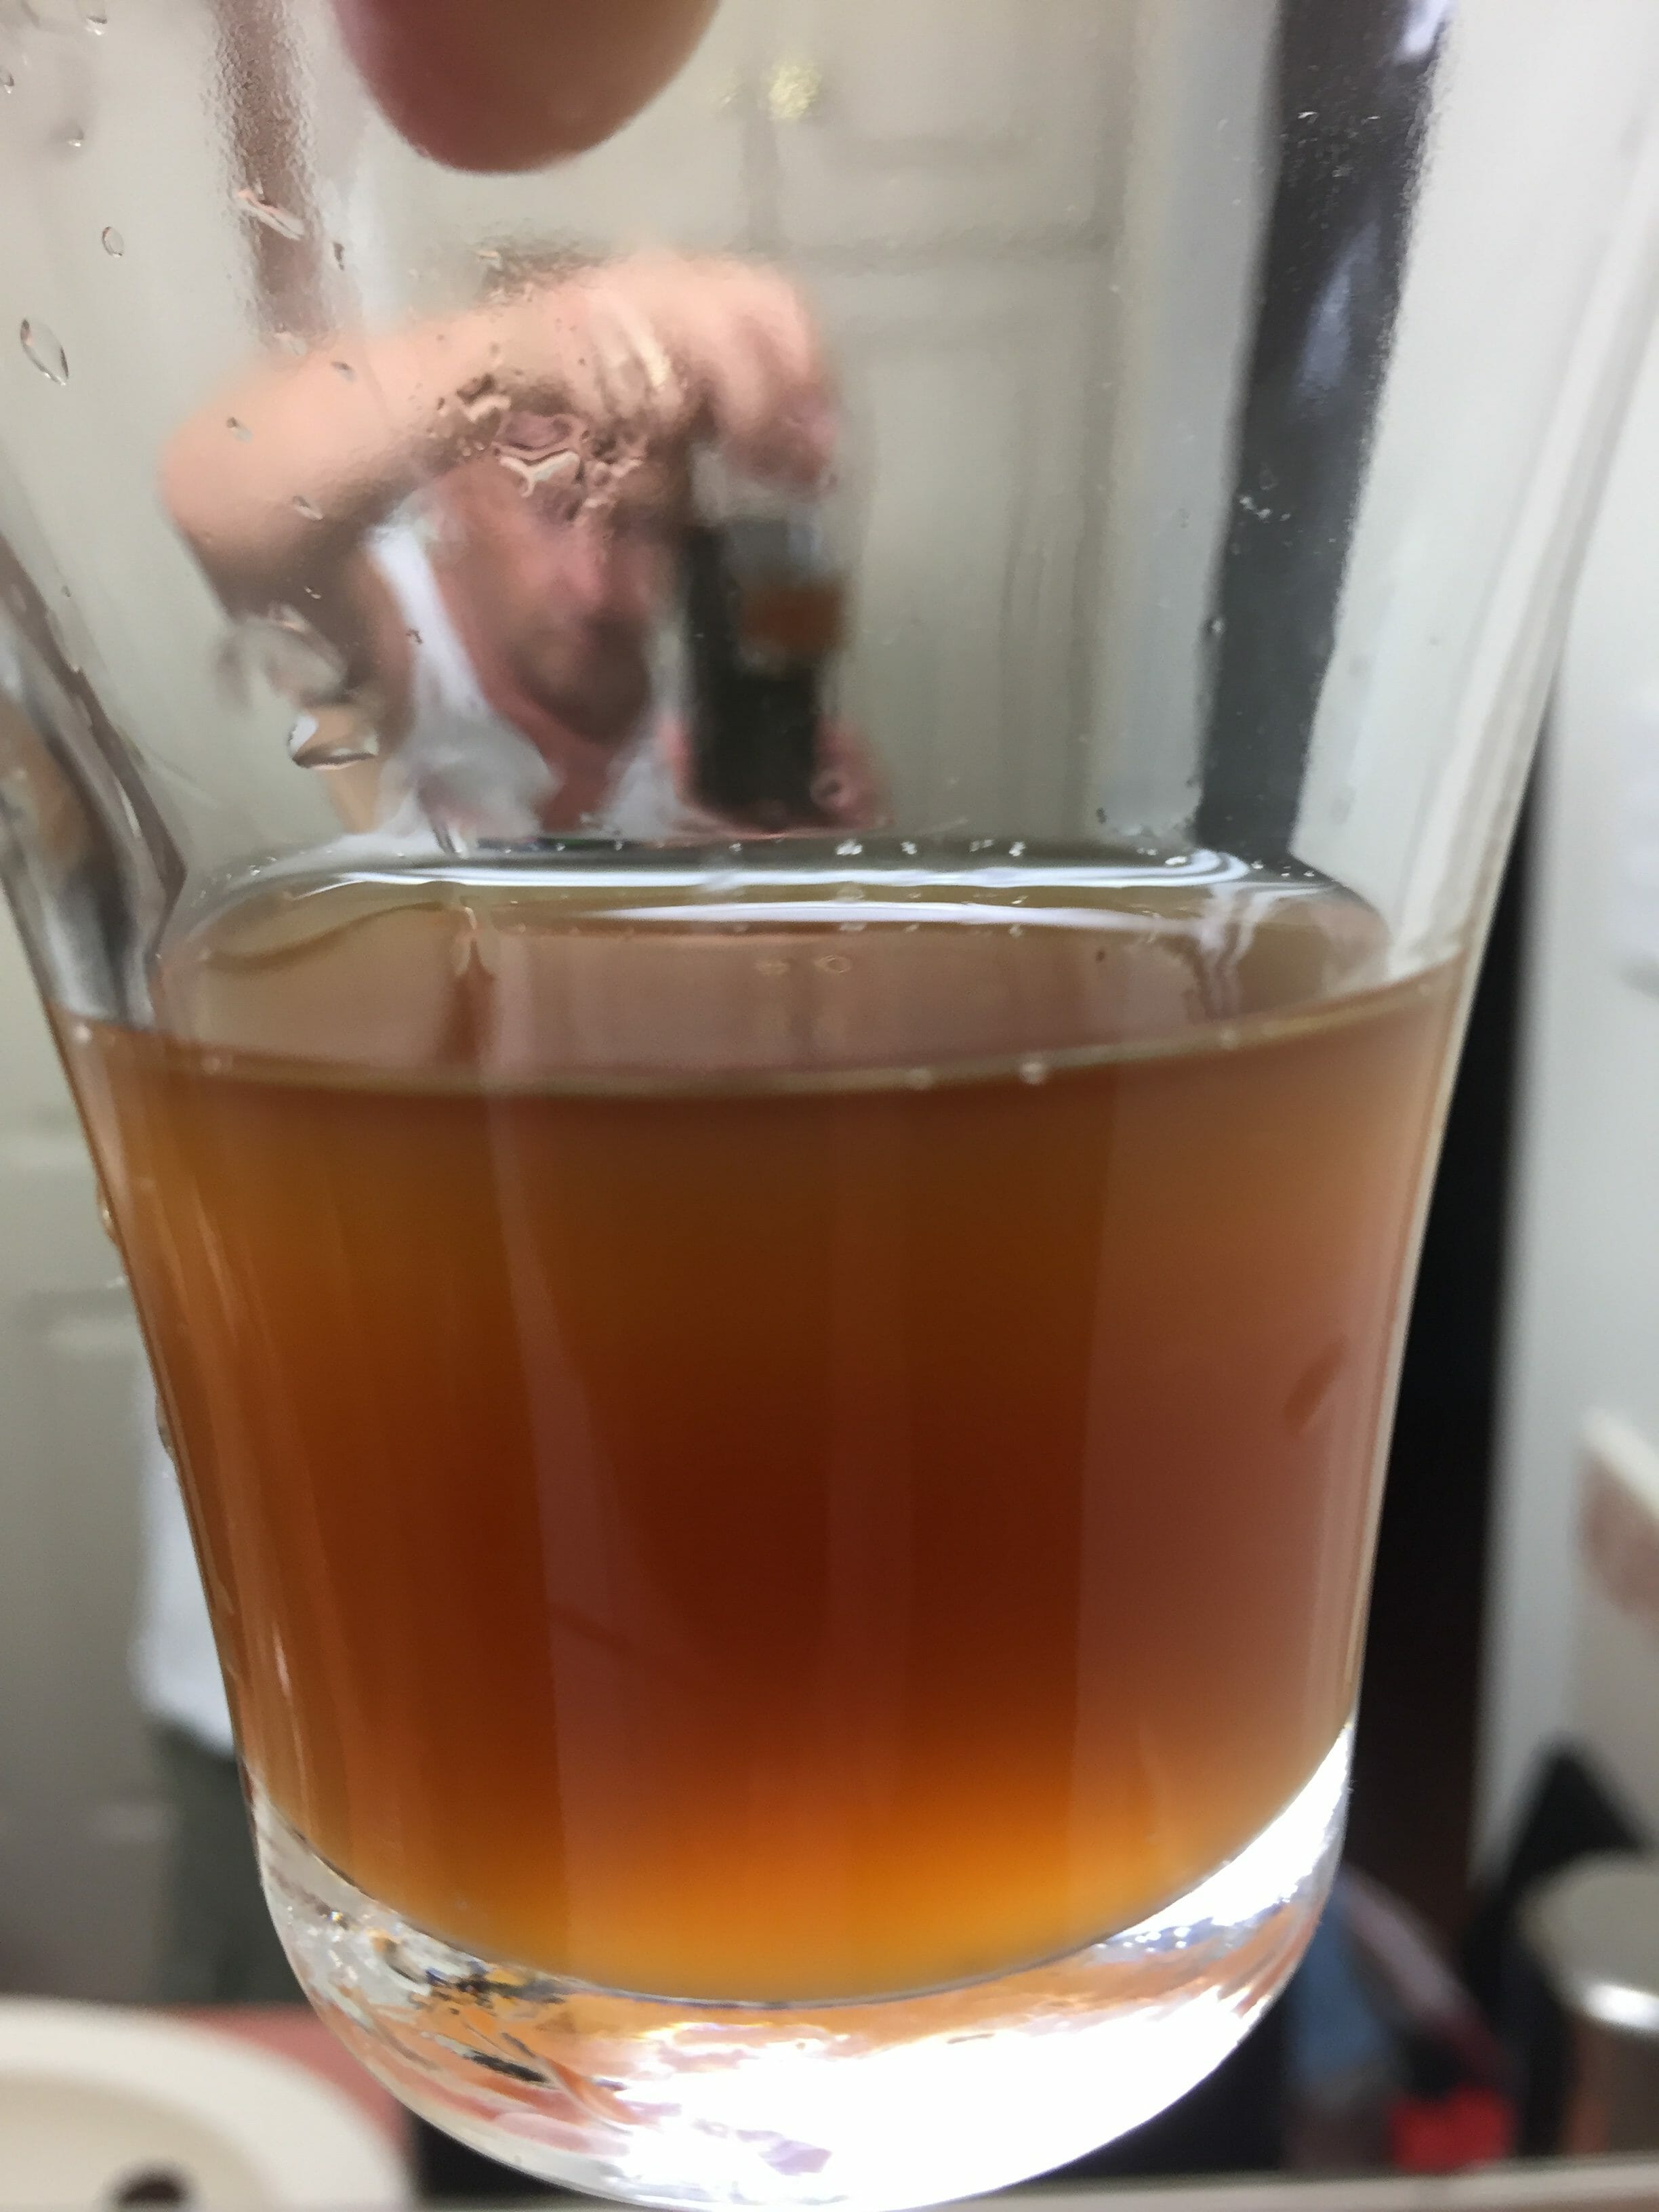
I’ve made the Pale Ale before, using the Coopers/Mr Beer Northwest Pale Ale Hop Malt Extract recipe by the book, but this time I wanted to make it more bitter, more like an American India Pale Ale and getting some more flavour from the added Cascade hops. Taking the hydrometer reading today, it’s Specific Gravity is 1002. The Starting Gravity was 1042, so about 5.4% ABV. I have no way of measuring the International Bitterness Units (IBU) because of the malt extract used, but my guess is around 50 as it’s fairly bitter.
Here’s the recipe I crafted: (pun intended!)
You’ll need:
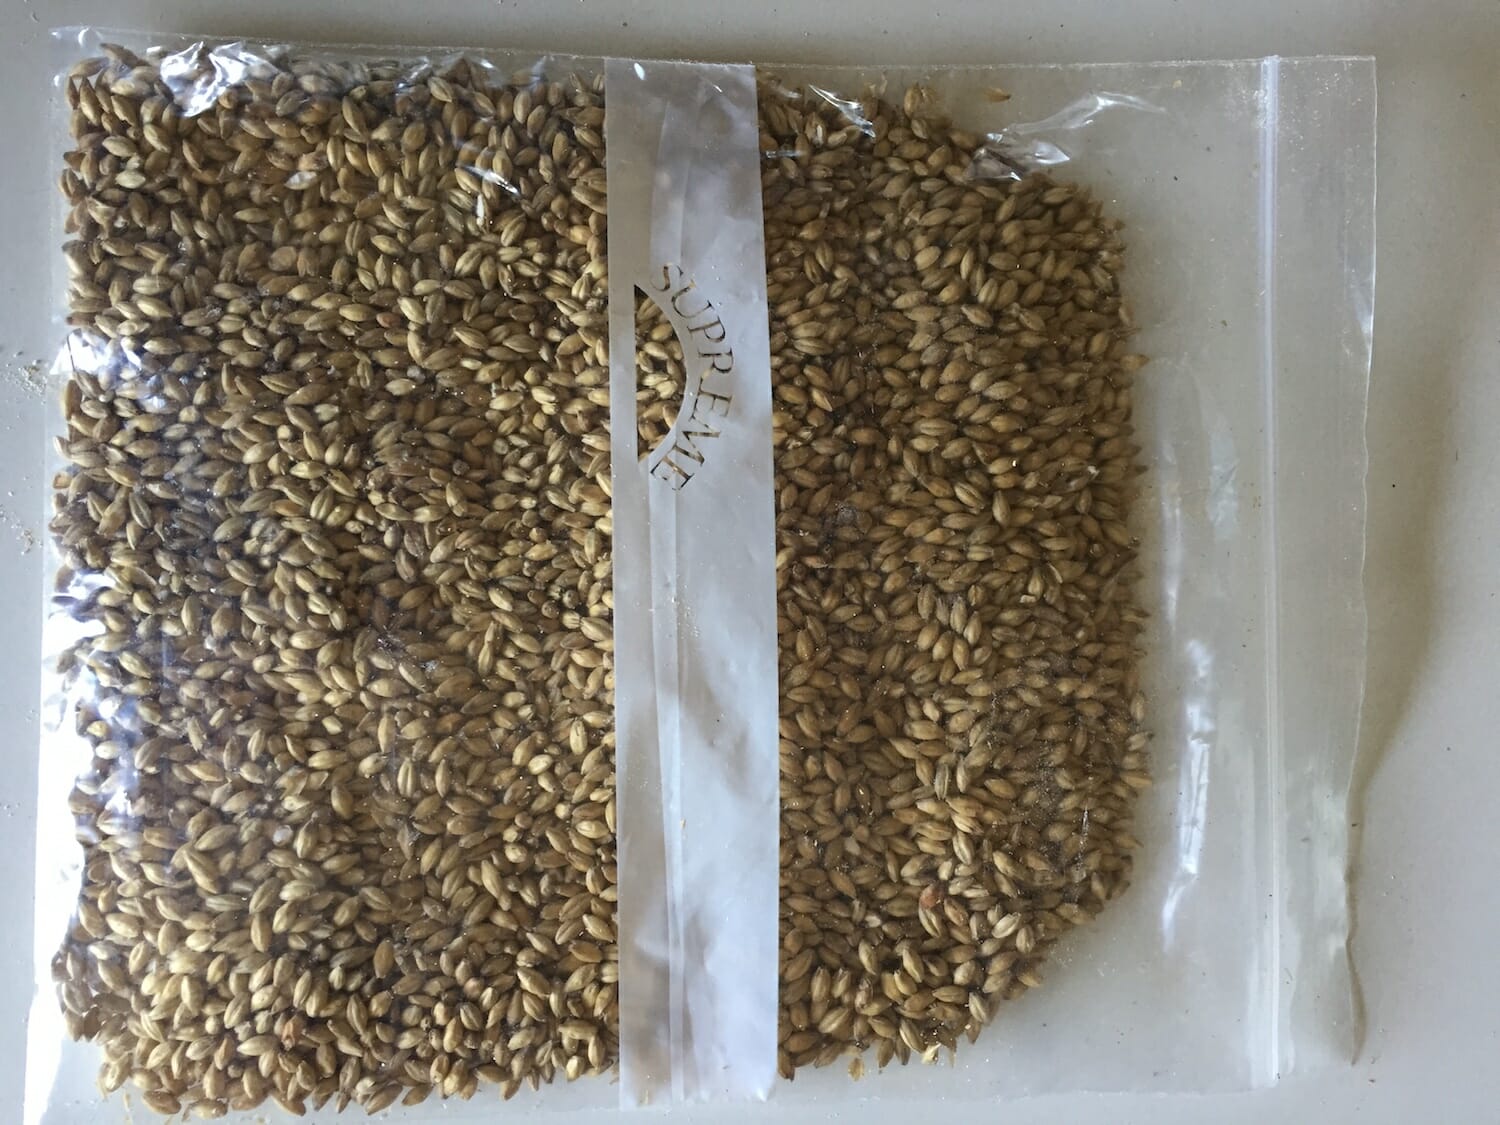
- 500g Pale Ale Malt grains. I used Briess 2 row – 7 EBC – 3.5 Lovibond. I actually purchased 1Kg of this but only used half
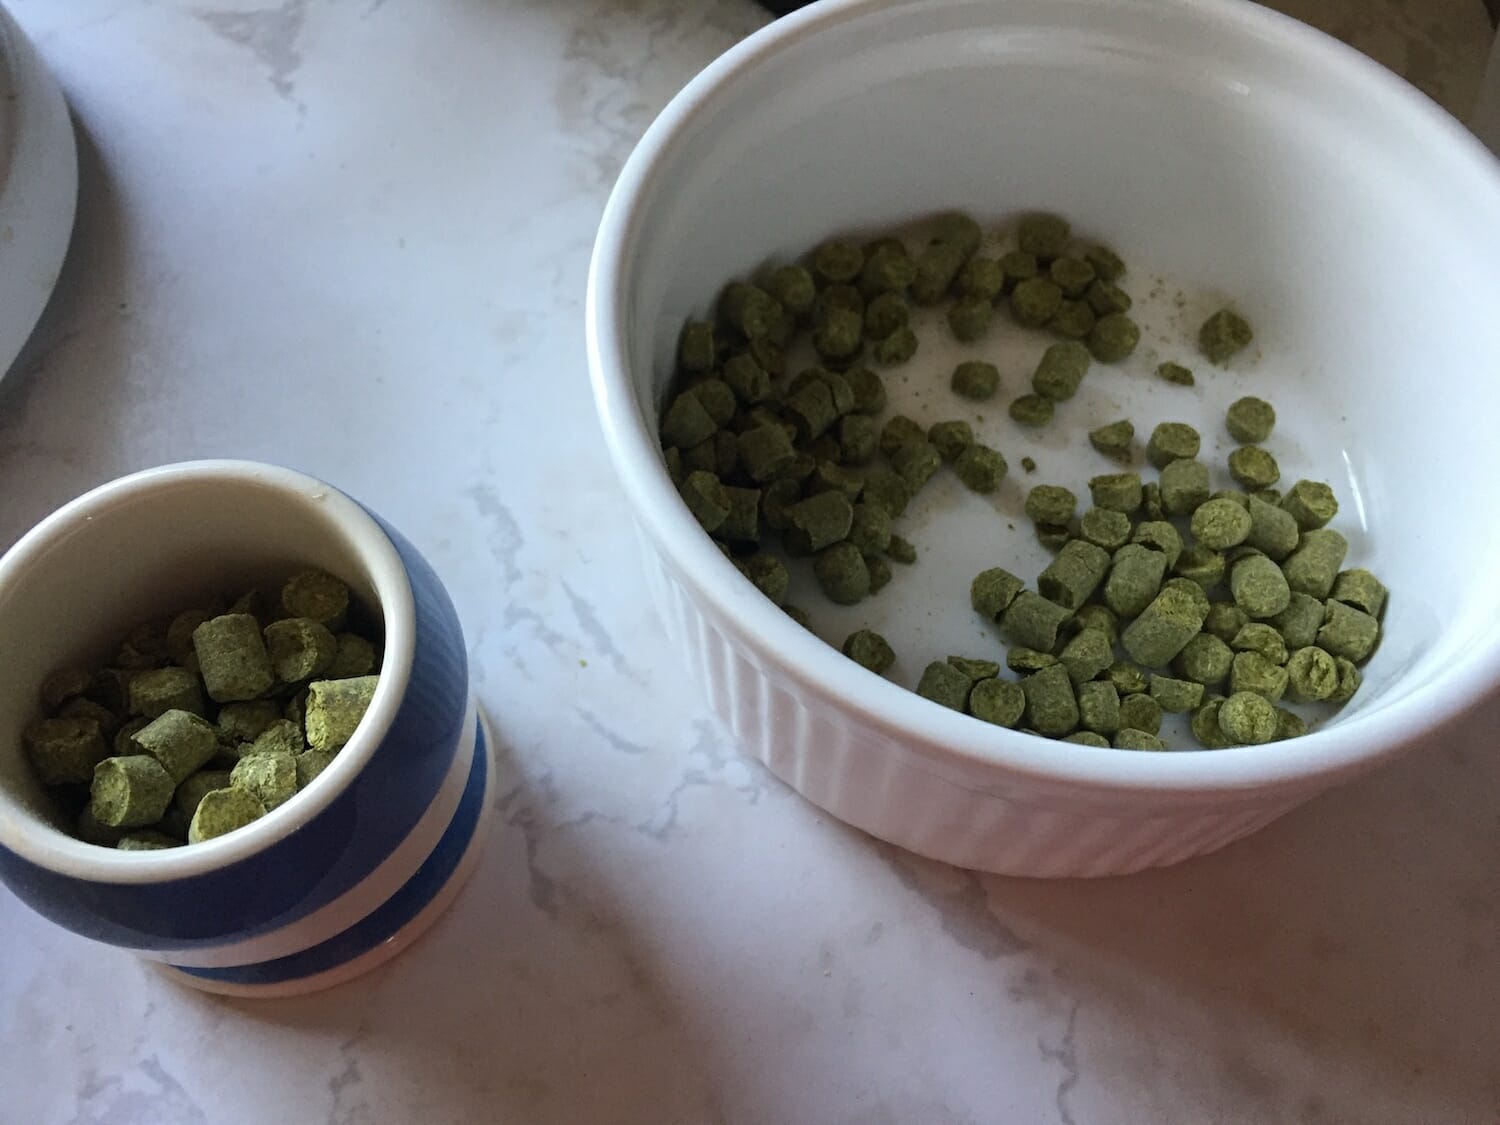
- 33g Cascade hop pellets. I purchased a 100g bag so only used a third
- Kettle (e.g. Stainless Steel) that can boil at least 5L comfortably, so about 8L
- Nylon Mesh Bag large enough to hold the grains
- Thermometer that can be used to measure the temperature of the water (I used a meat thermometer)
Steps:
- Heat 5L of water to 70C/158F
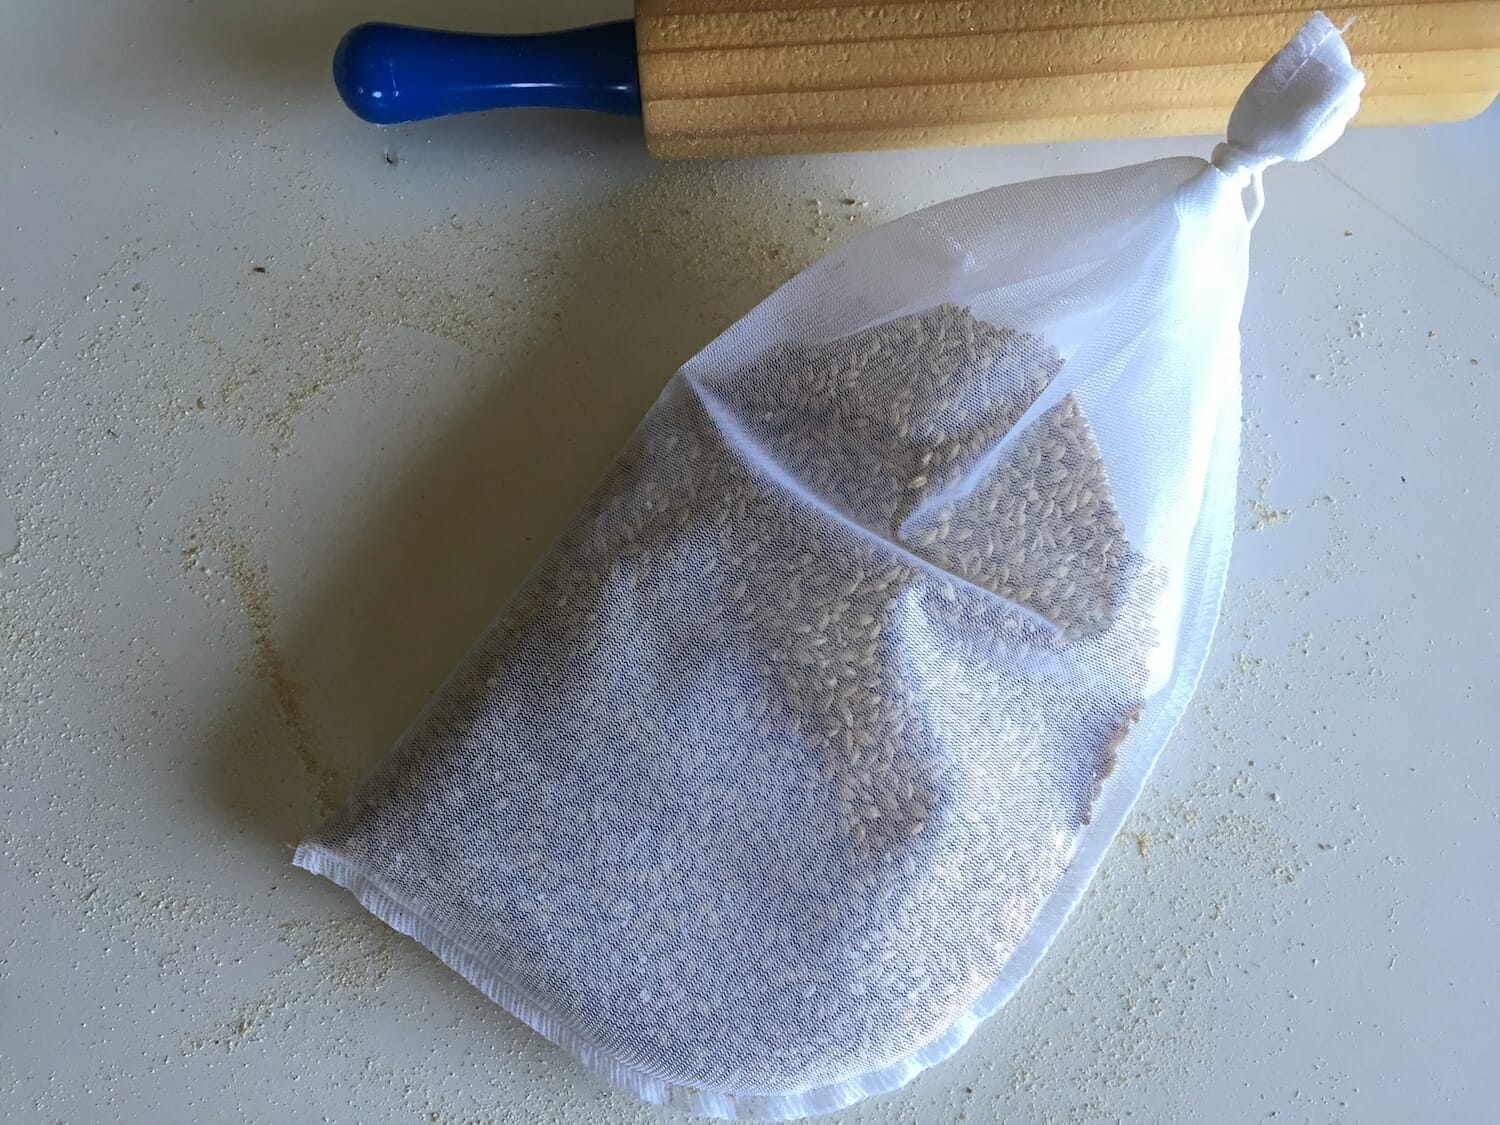
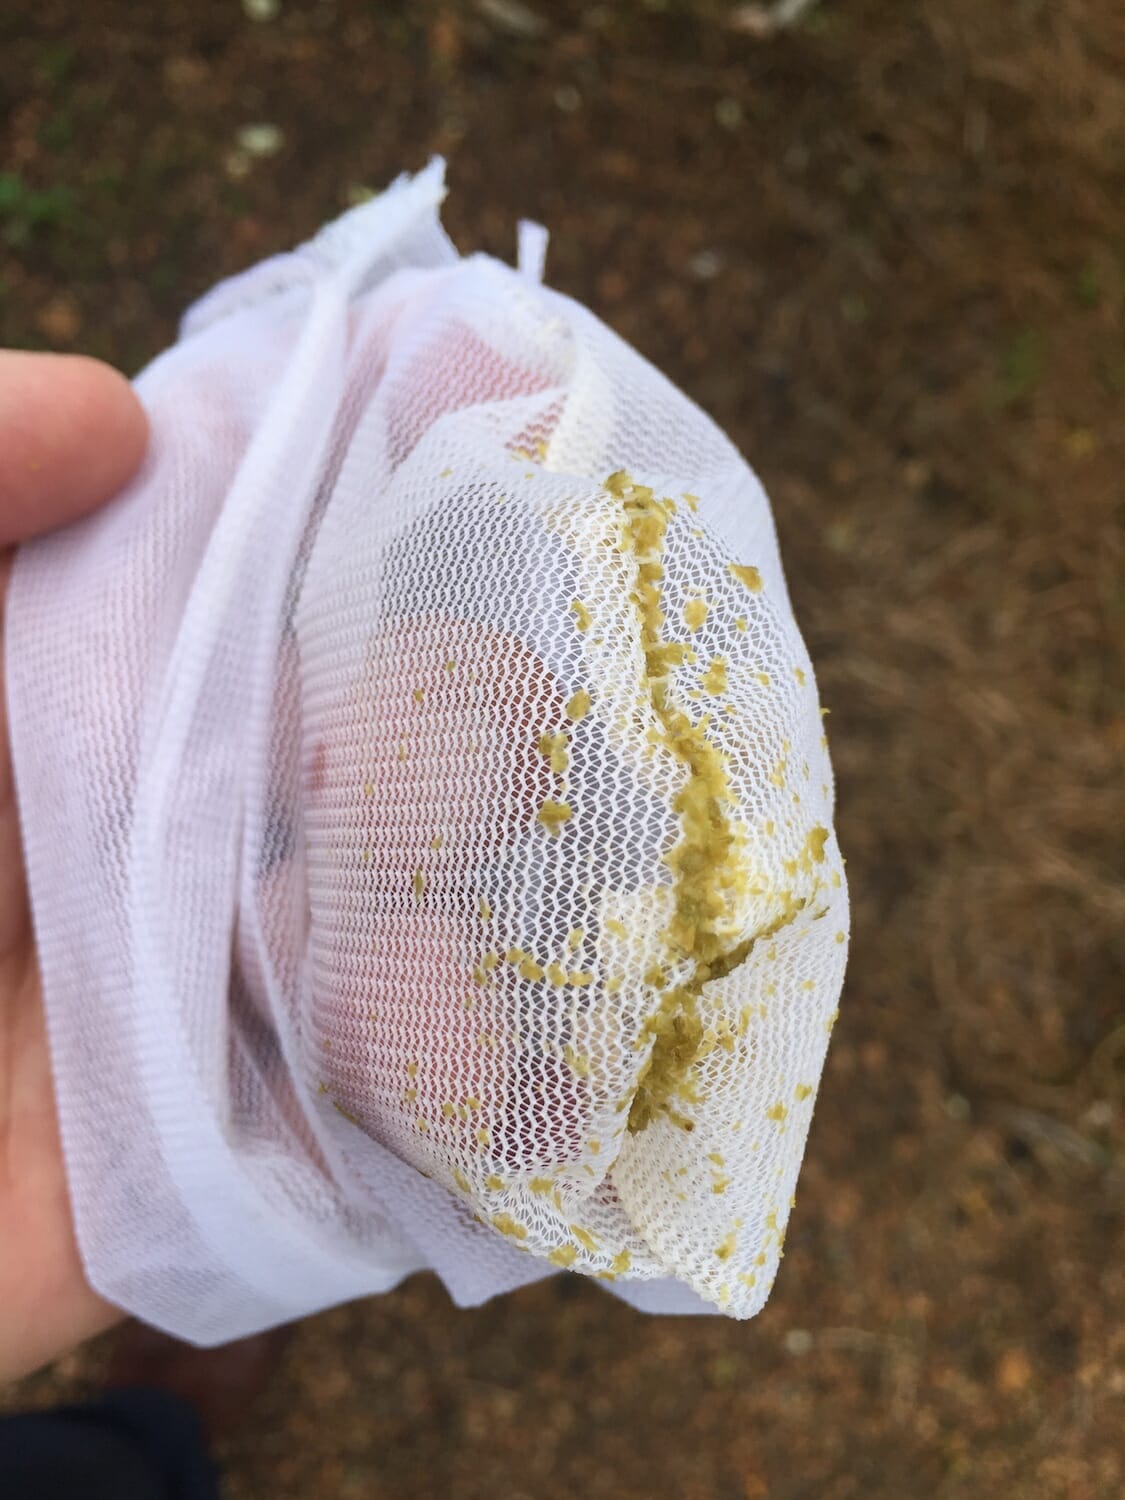
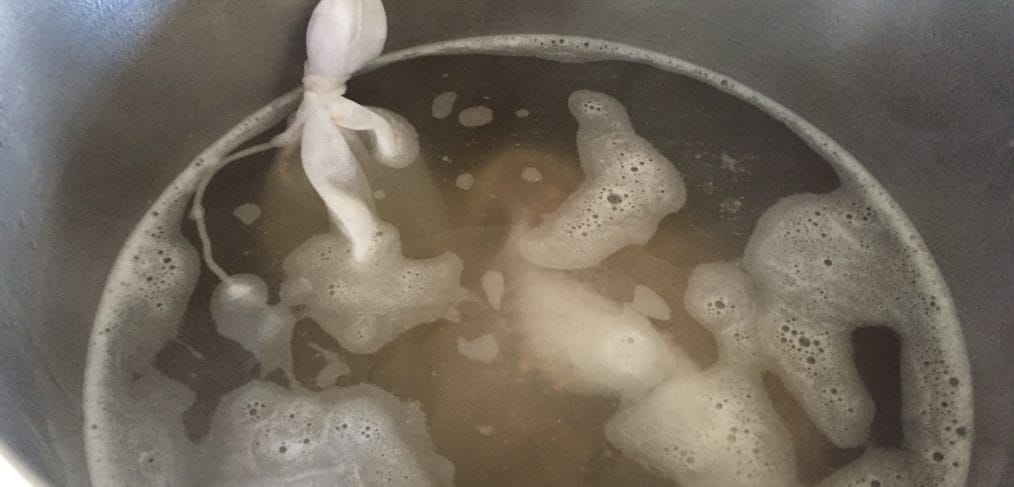
- Use a rolling pin to crack the grains open in a strong plastic sandwich bag (a handful or two at a time depending on the size of your bag) and put them in a nylon mesh bag
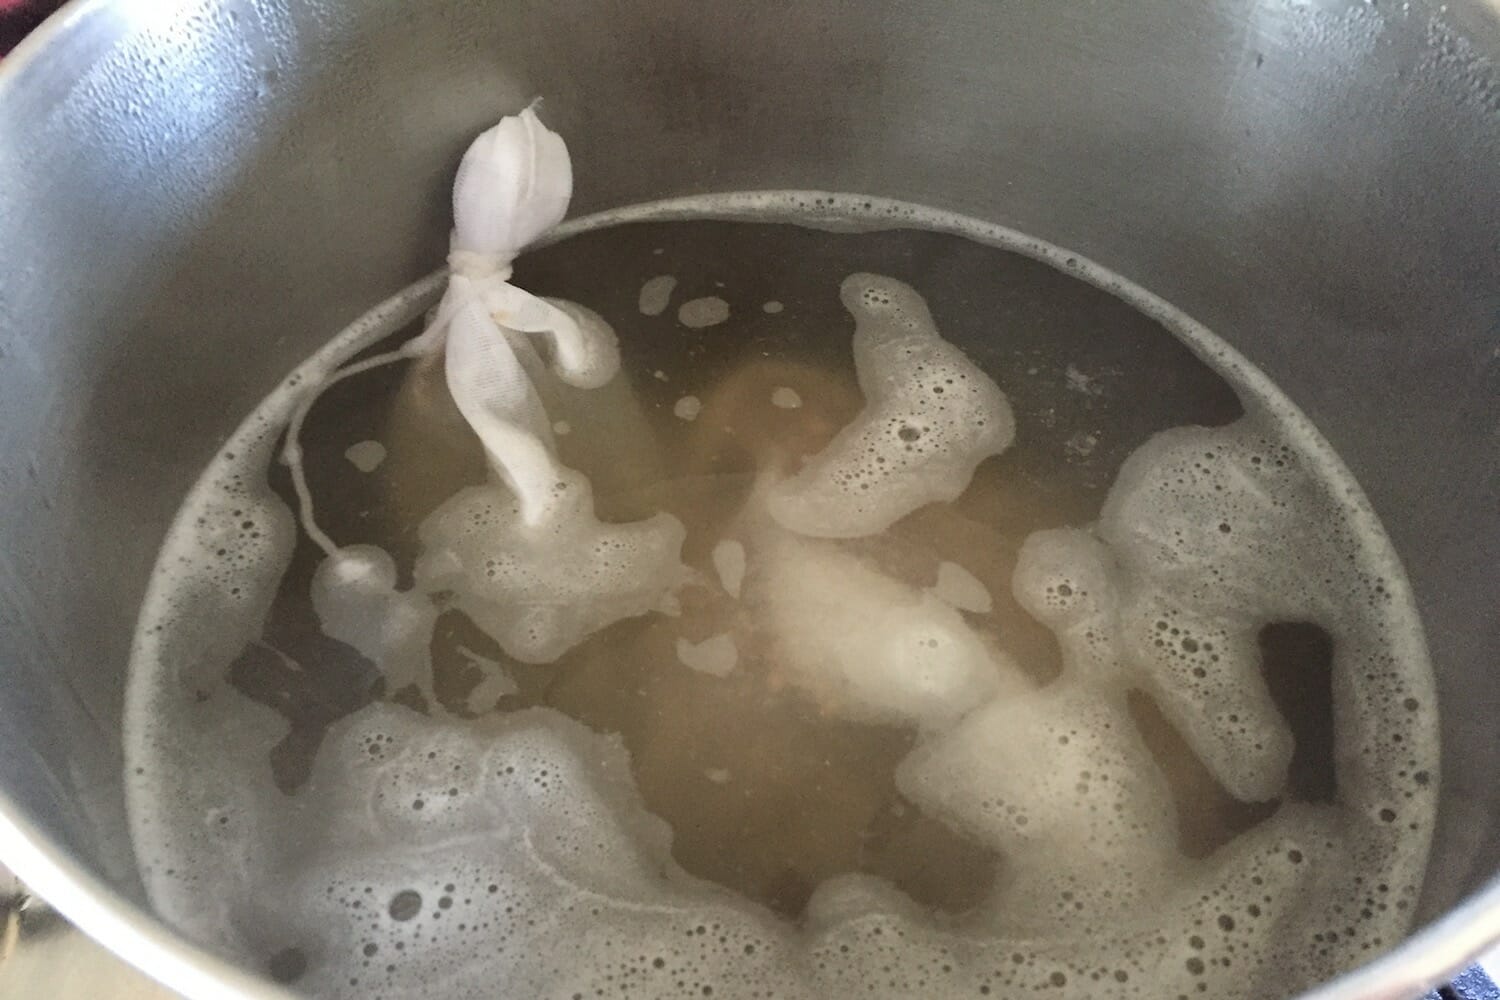
- Put the mesh bag containing the cracked grains into the kettle (which is now at 70C/158F)
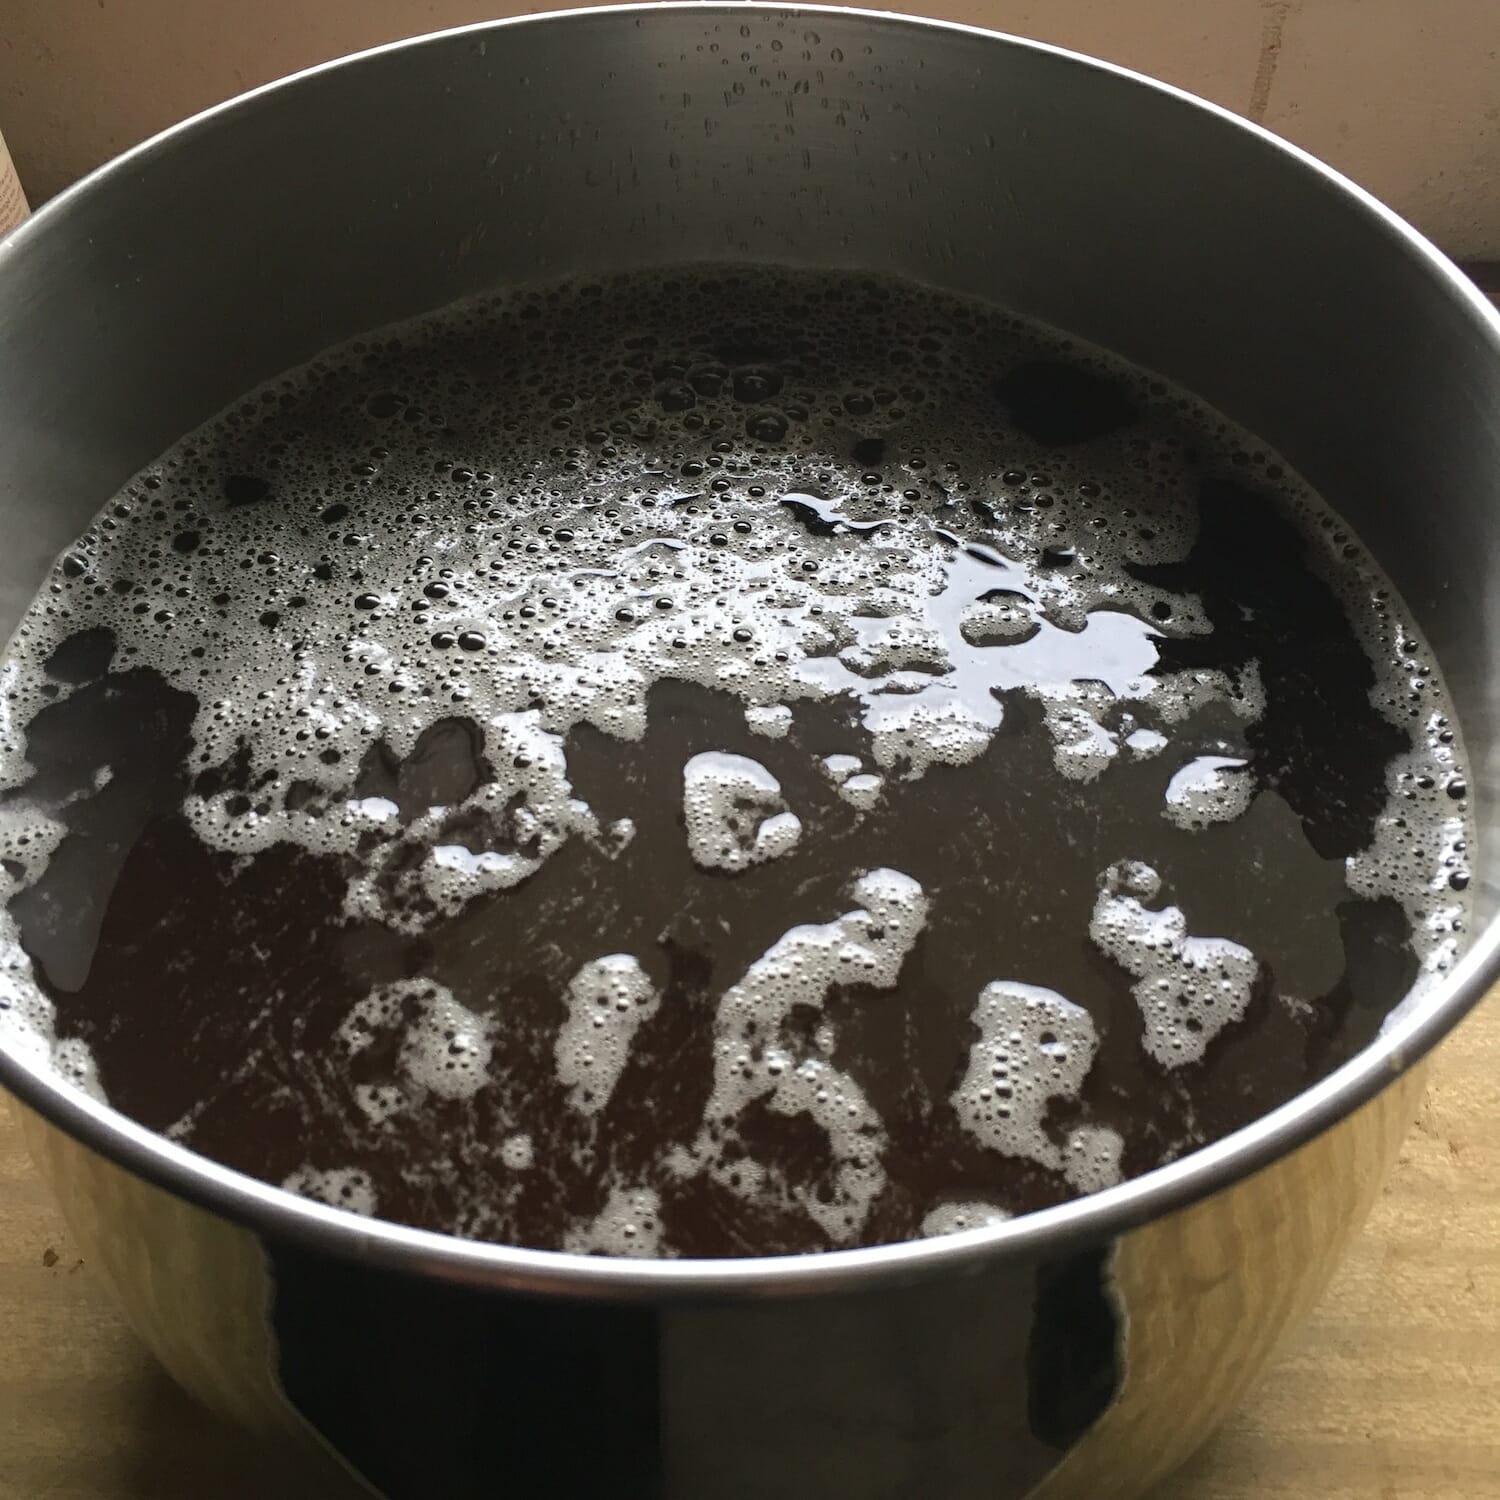
- Leave the bag in the water for 30 minutes at 70C. This is called steeping the grains and makes Wort. Wort contains the sugars that will be fermented by the brewing yeast to produce beer. The extract is obviously a wort as well and we’ll be adding that into the boil shortly
- Remove the grain bag and let the excess drip off into the kettle. Pour some boiling water over the bag to release maximum flavour for your wort. Discard the grains from the bag or you can munch on them or make porridge. They do taste good! Or feed them to the birds
- Bring water to the boil
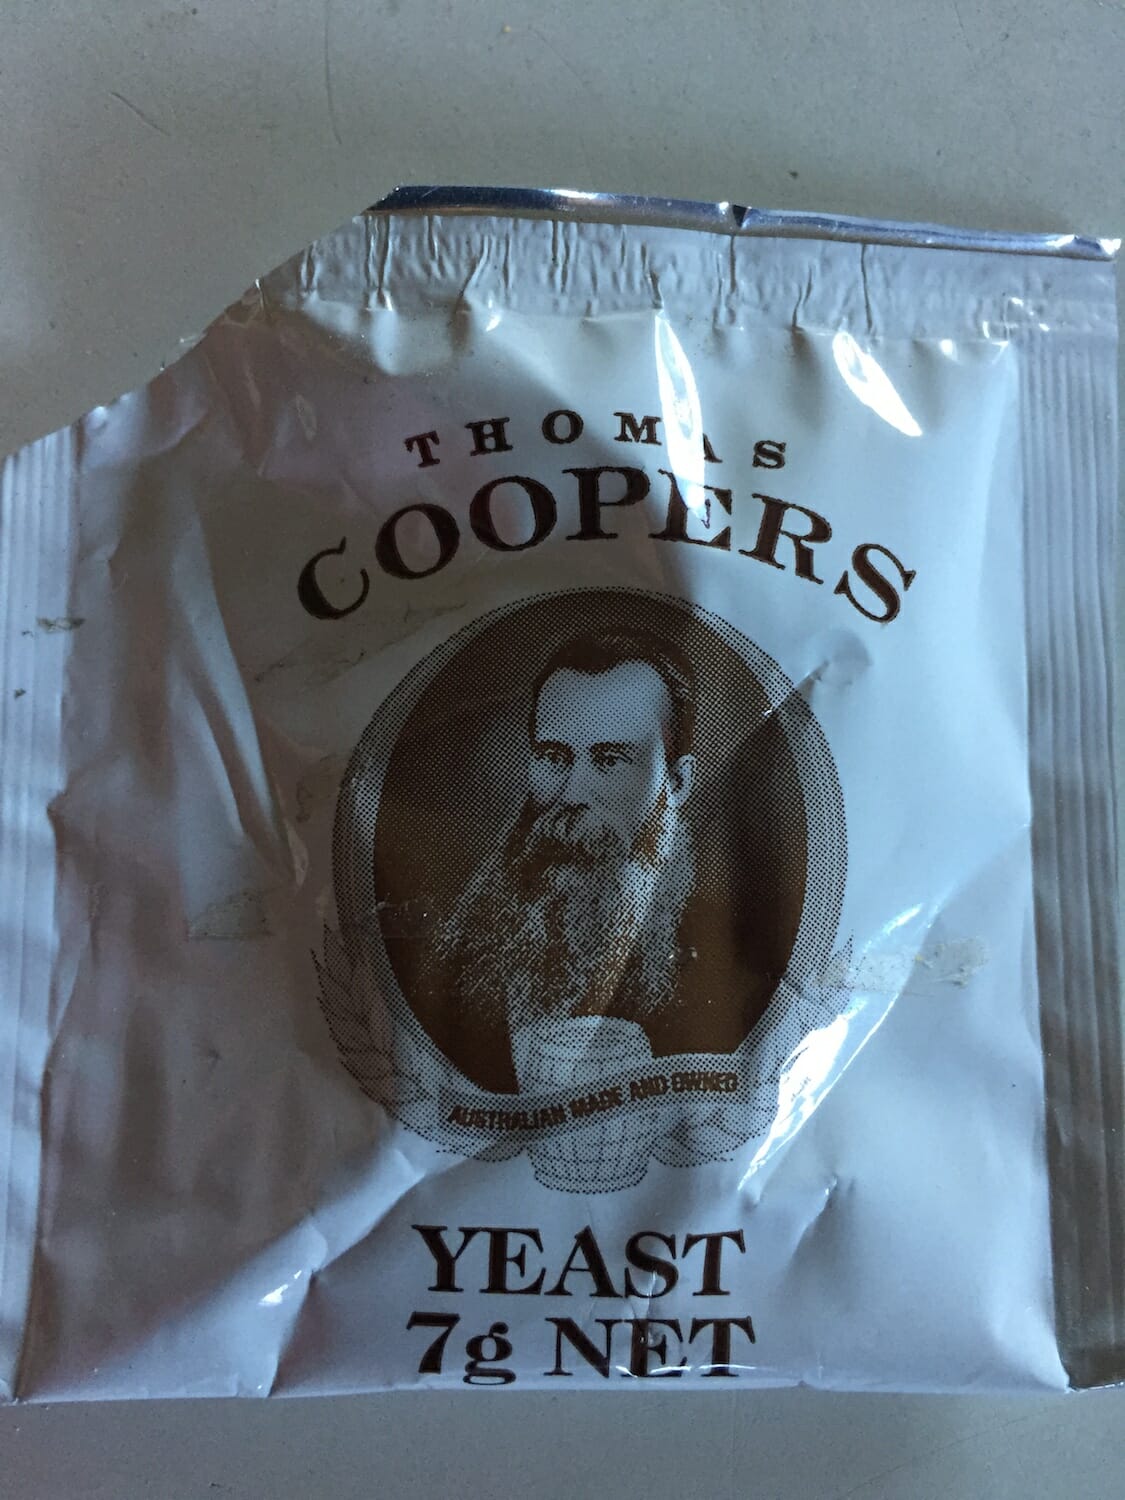
- Add the Coopers hop malt extract that has been in hot water to make it runny and pour easily. Use a cooking spatula to scrape out all of the extract. Stir it around in the kettle
- Stir in 13g pellets of cascade hops for bitterness
- Boil for another 45 mins
- Add 8g pellets of cascade hops
- Boil for another 15 mins
- Take off boil
- Add 12g pellets of cascade hops
- Wait 5 mins
- Cool down to about 30C/86F by placing the kettle in icy water
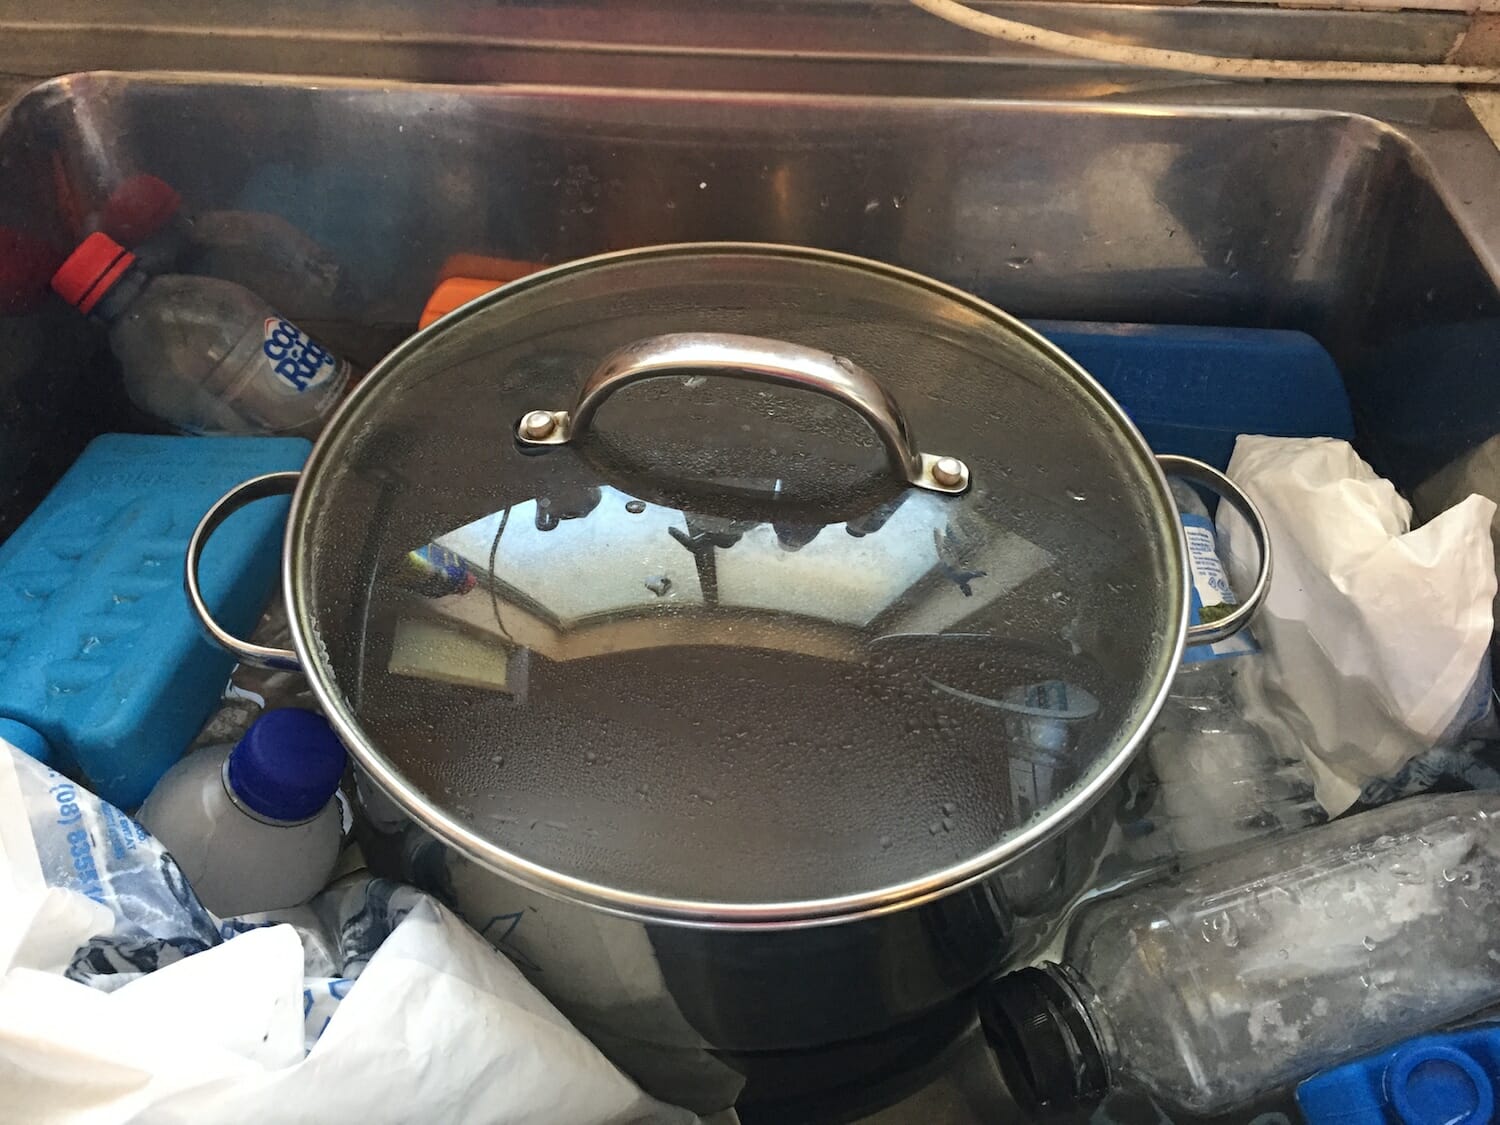
- Pour the contents into your 8.5L fermenting vessel. Do not pour all the hop sediment in that has accumulated at the bottom of your kettle
- Fill the fermenter with water to top up to the 8.5L mark
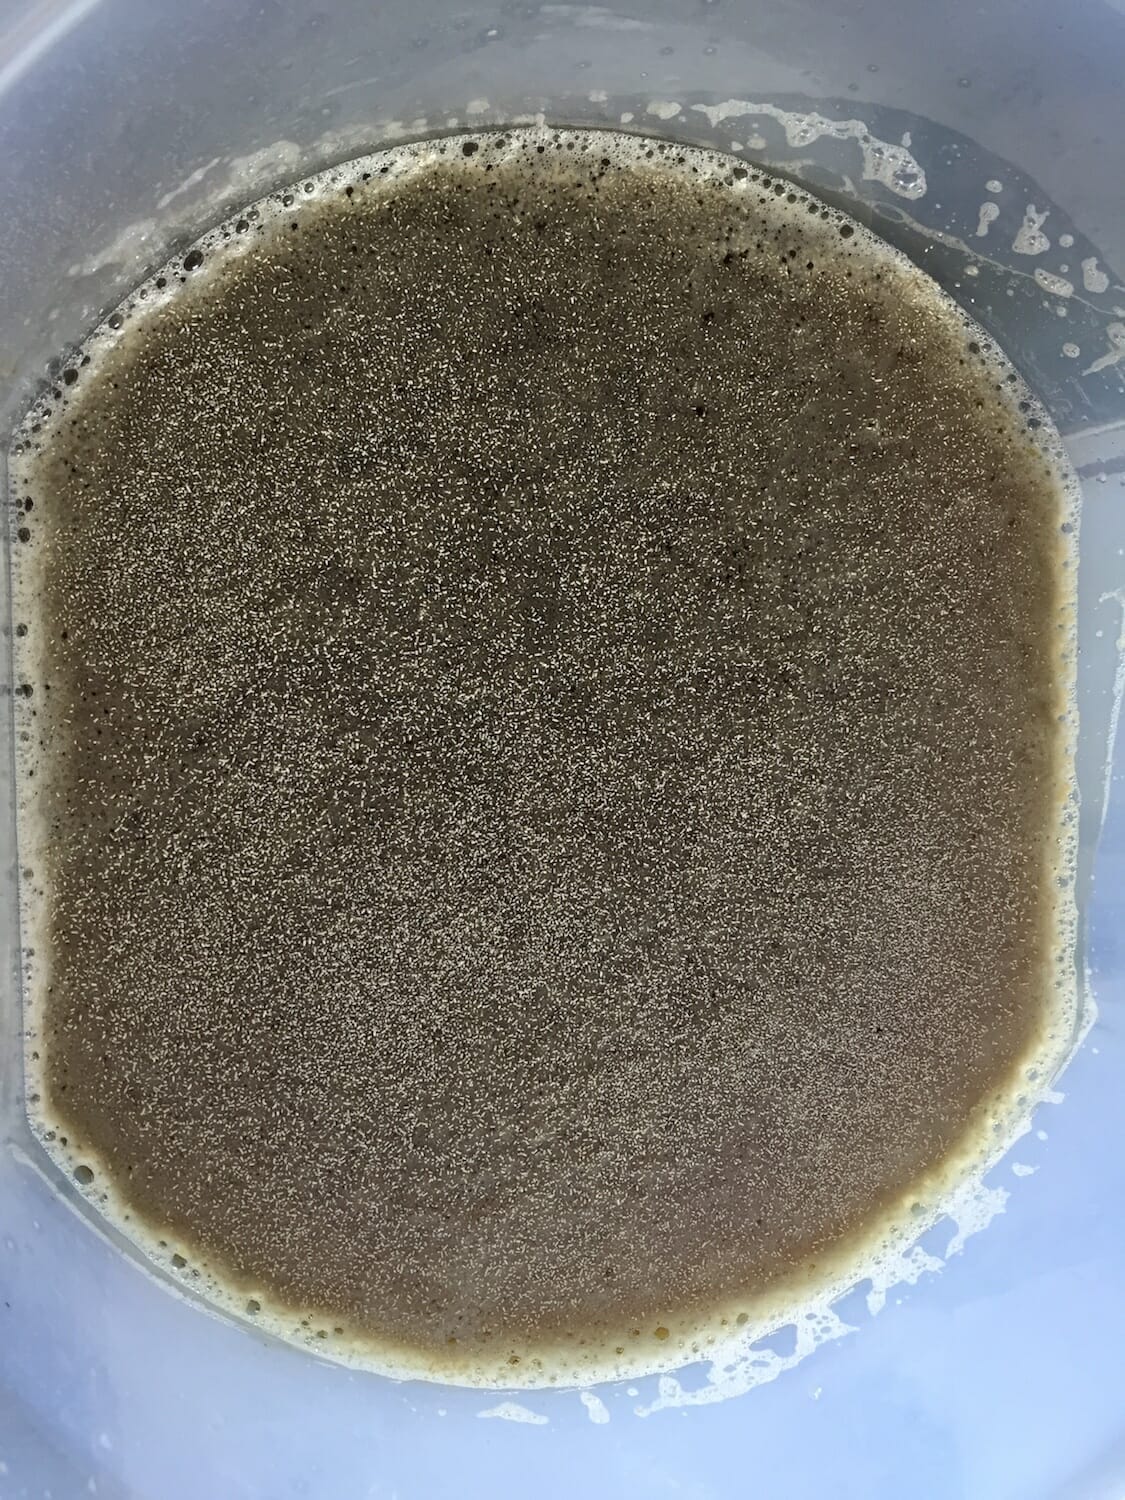
- When at around 22C/71F add yeast and let sit in a warm place to keep at around 22-24C (71F-75F) for at least 2 weeks. For this brew, I left it 3 days short of 4 weeks
I did not dry hop during fermentation, leaving that to try after this one for comparison. I’m thinking of using Galaxy hops for that.
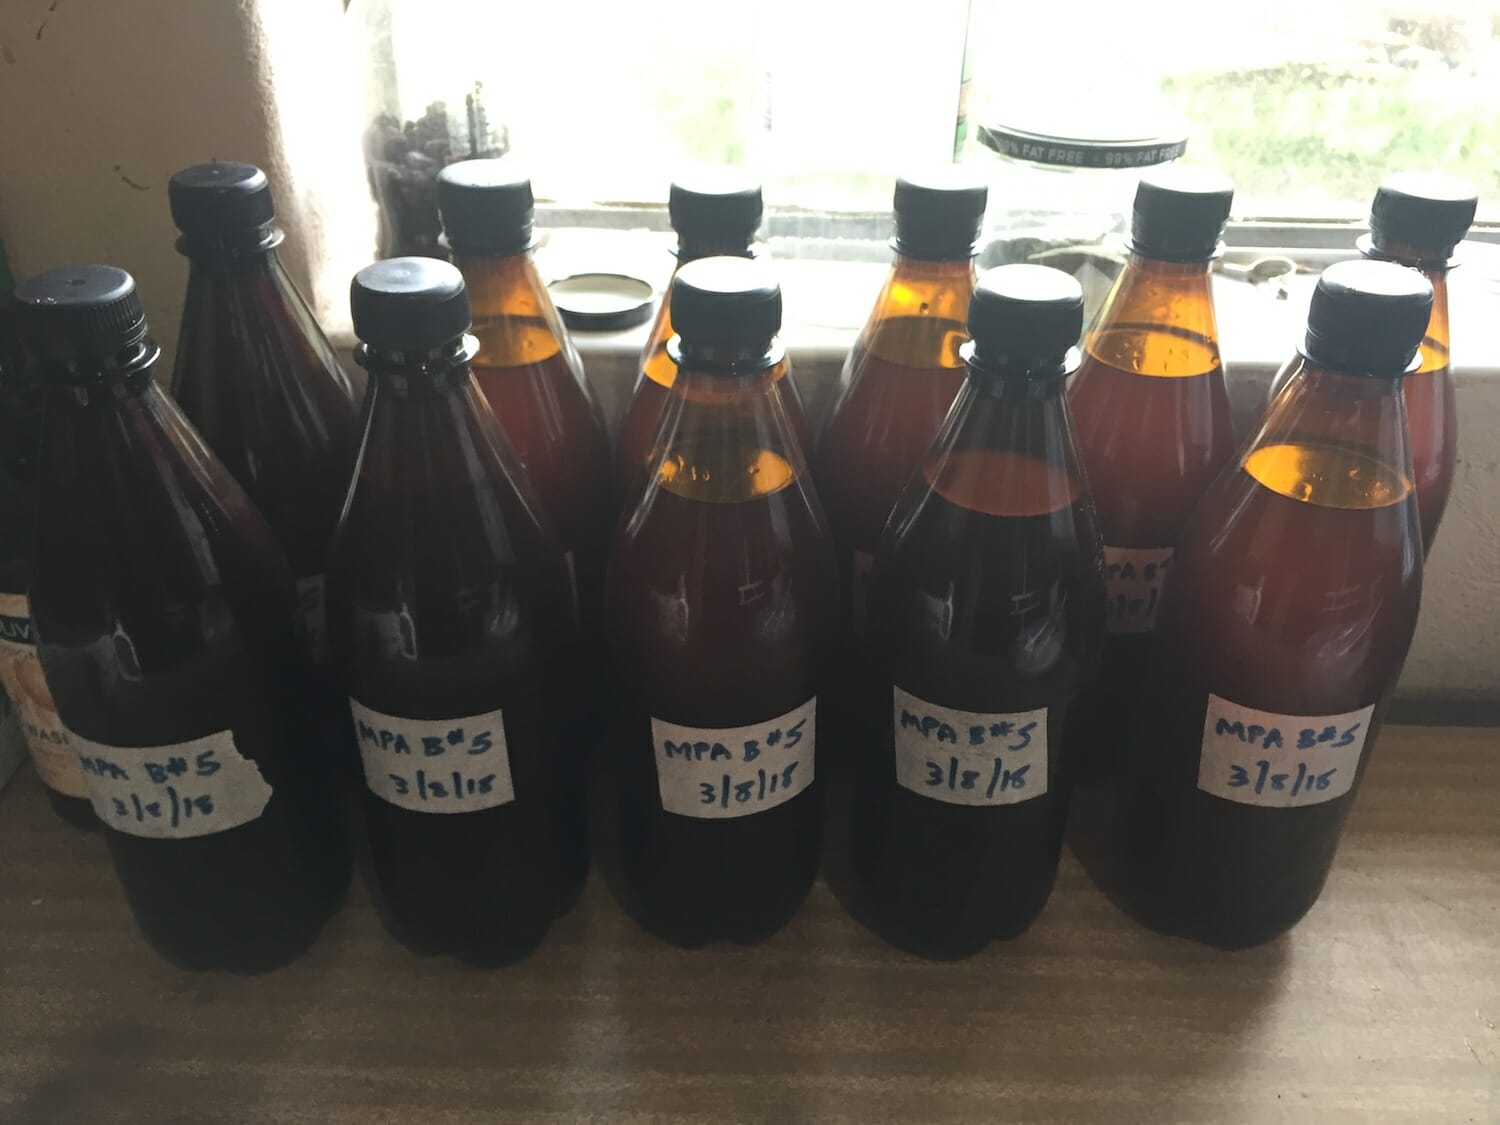
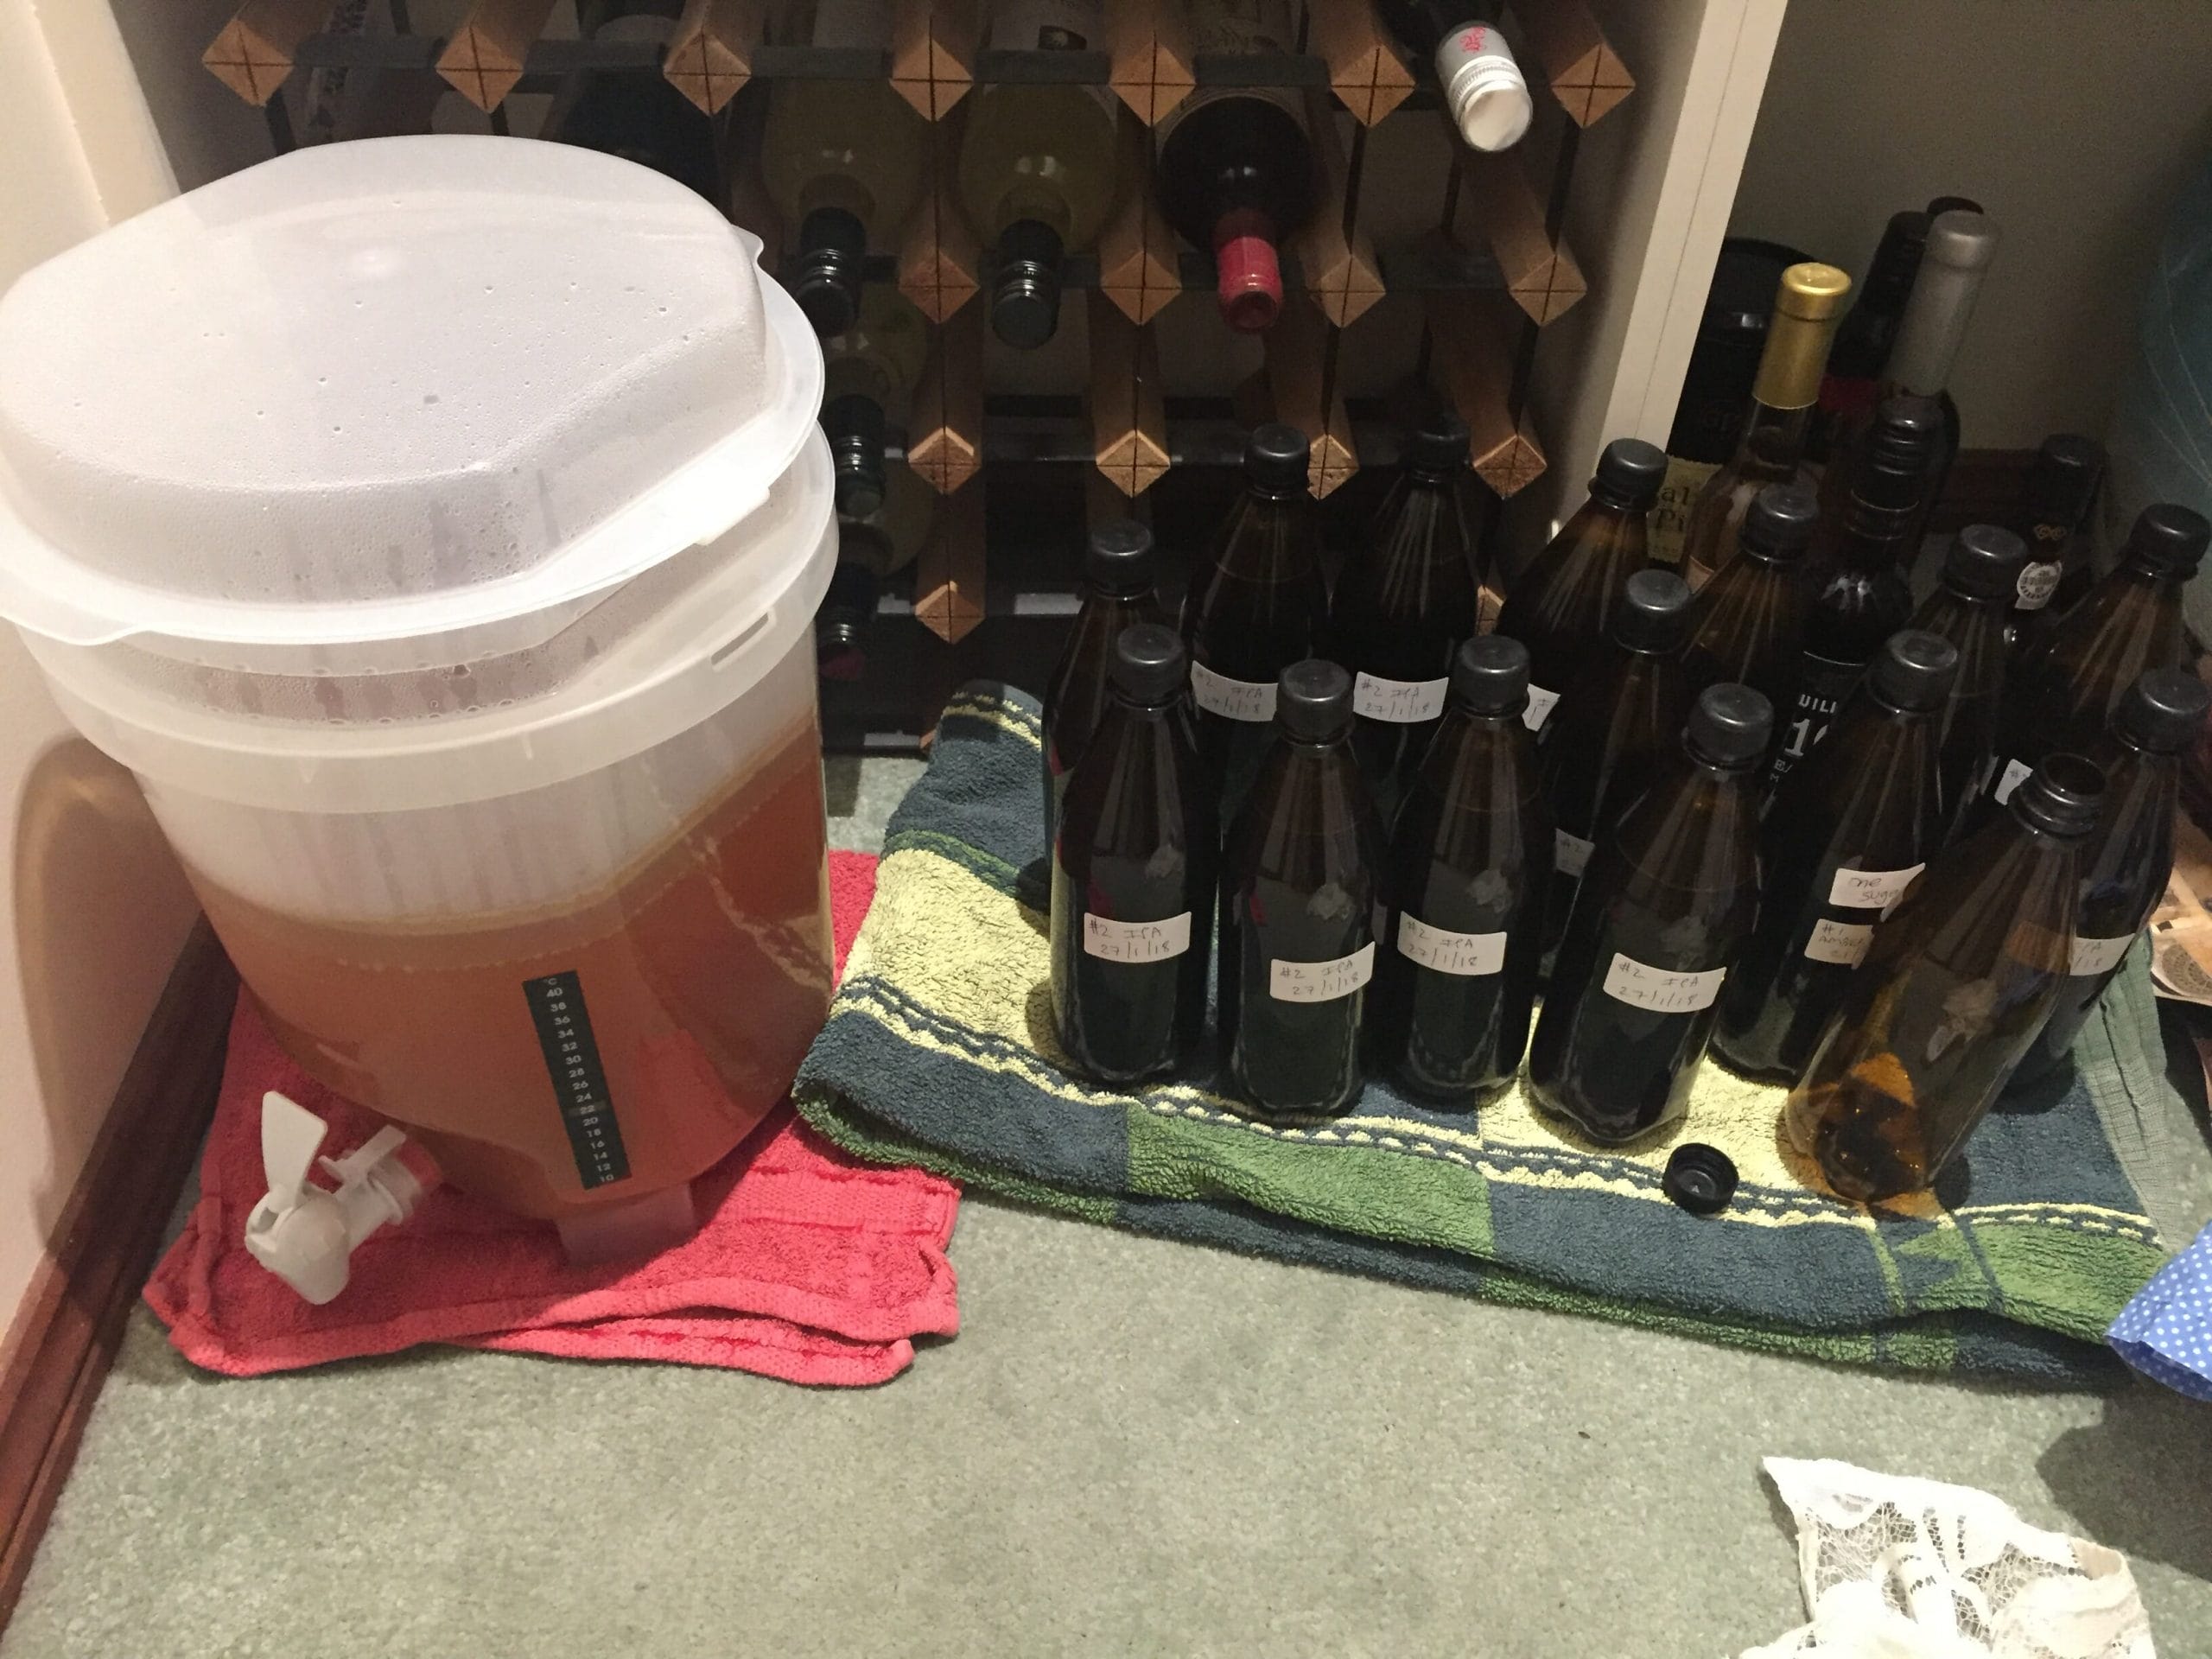
Bottling Day – Brew #5
I would have bottled it a week or two ago, but I had a cracked lower molar which needed to be surgically removed in Hospital yesterday. So in honour of that, this brew is called Molar Pale Ale (MPA).
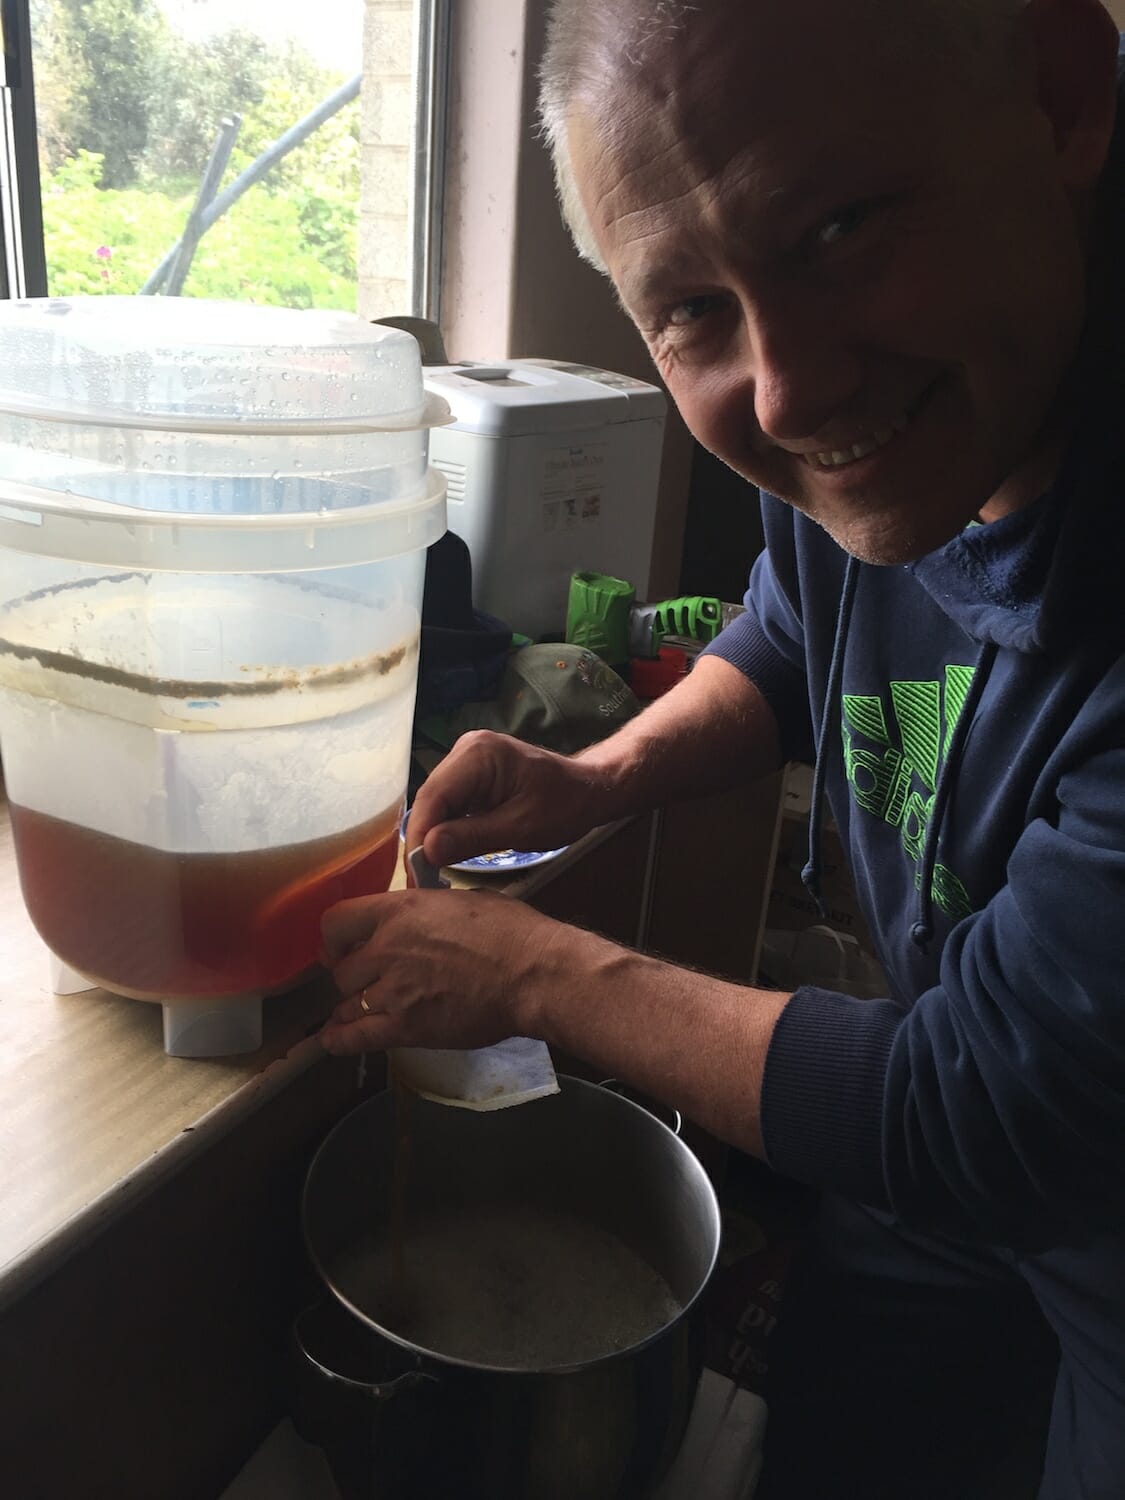
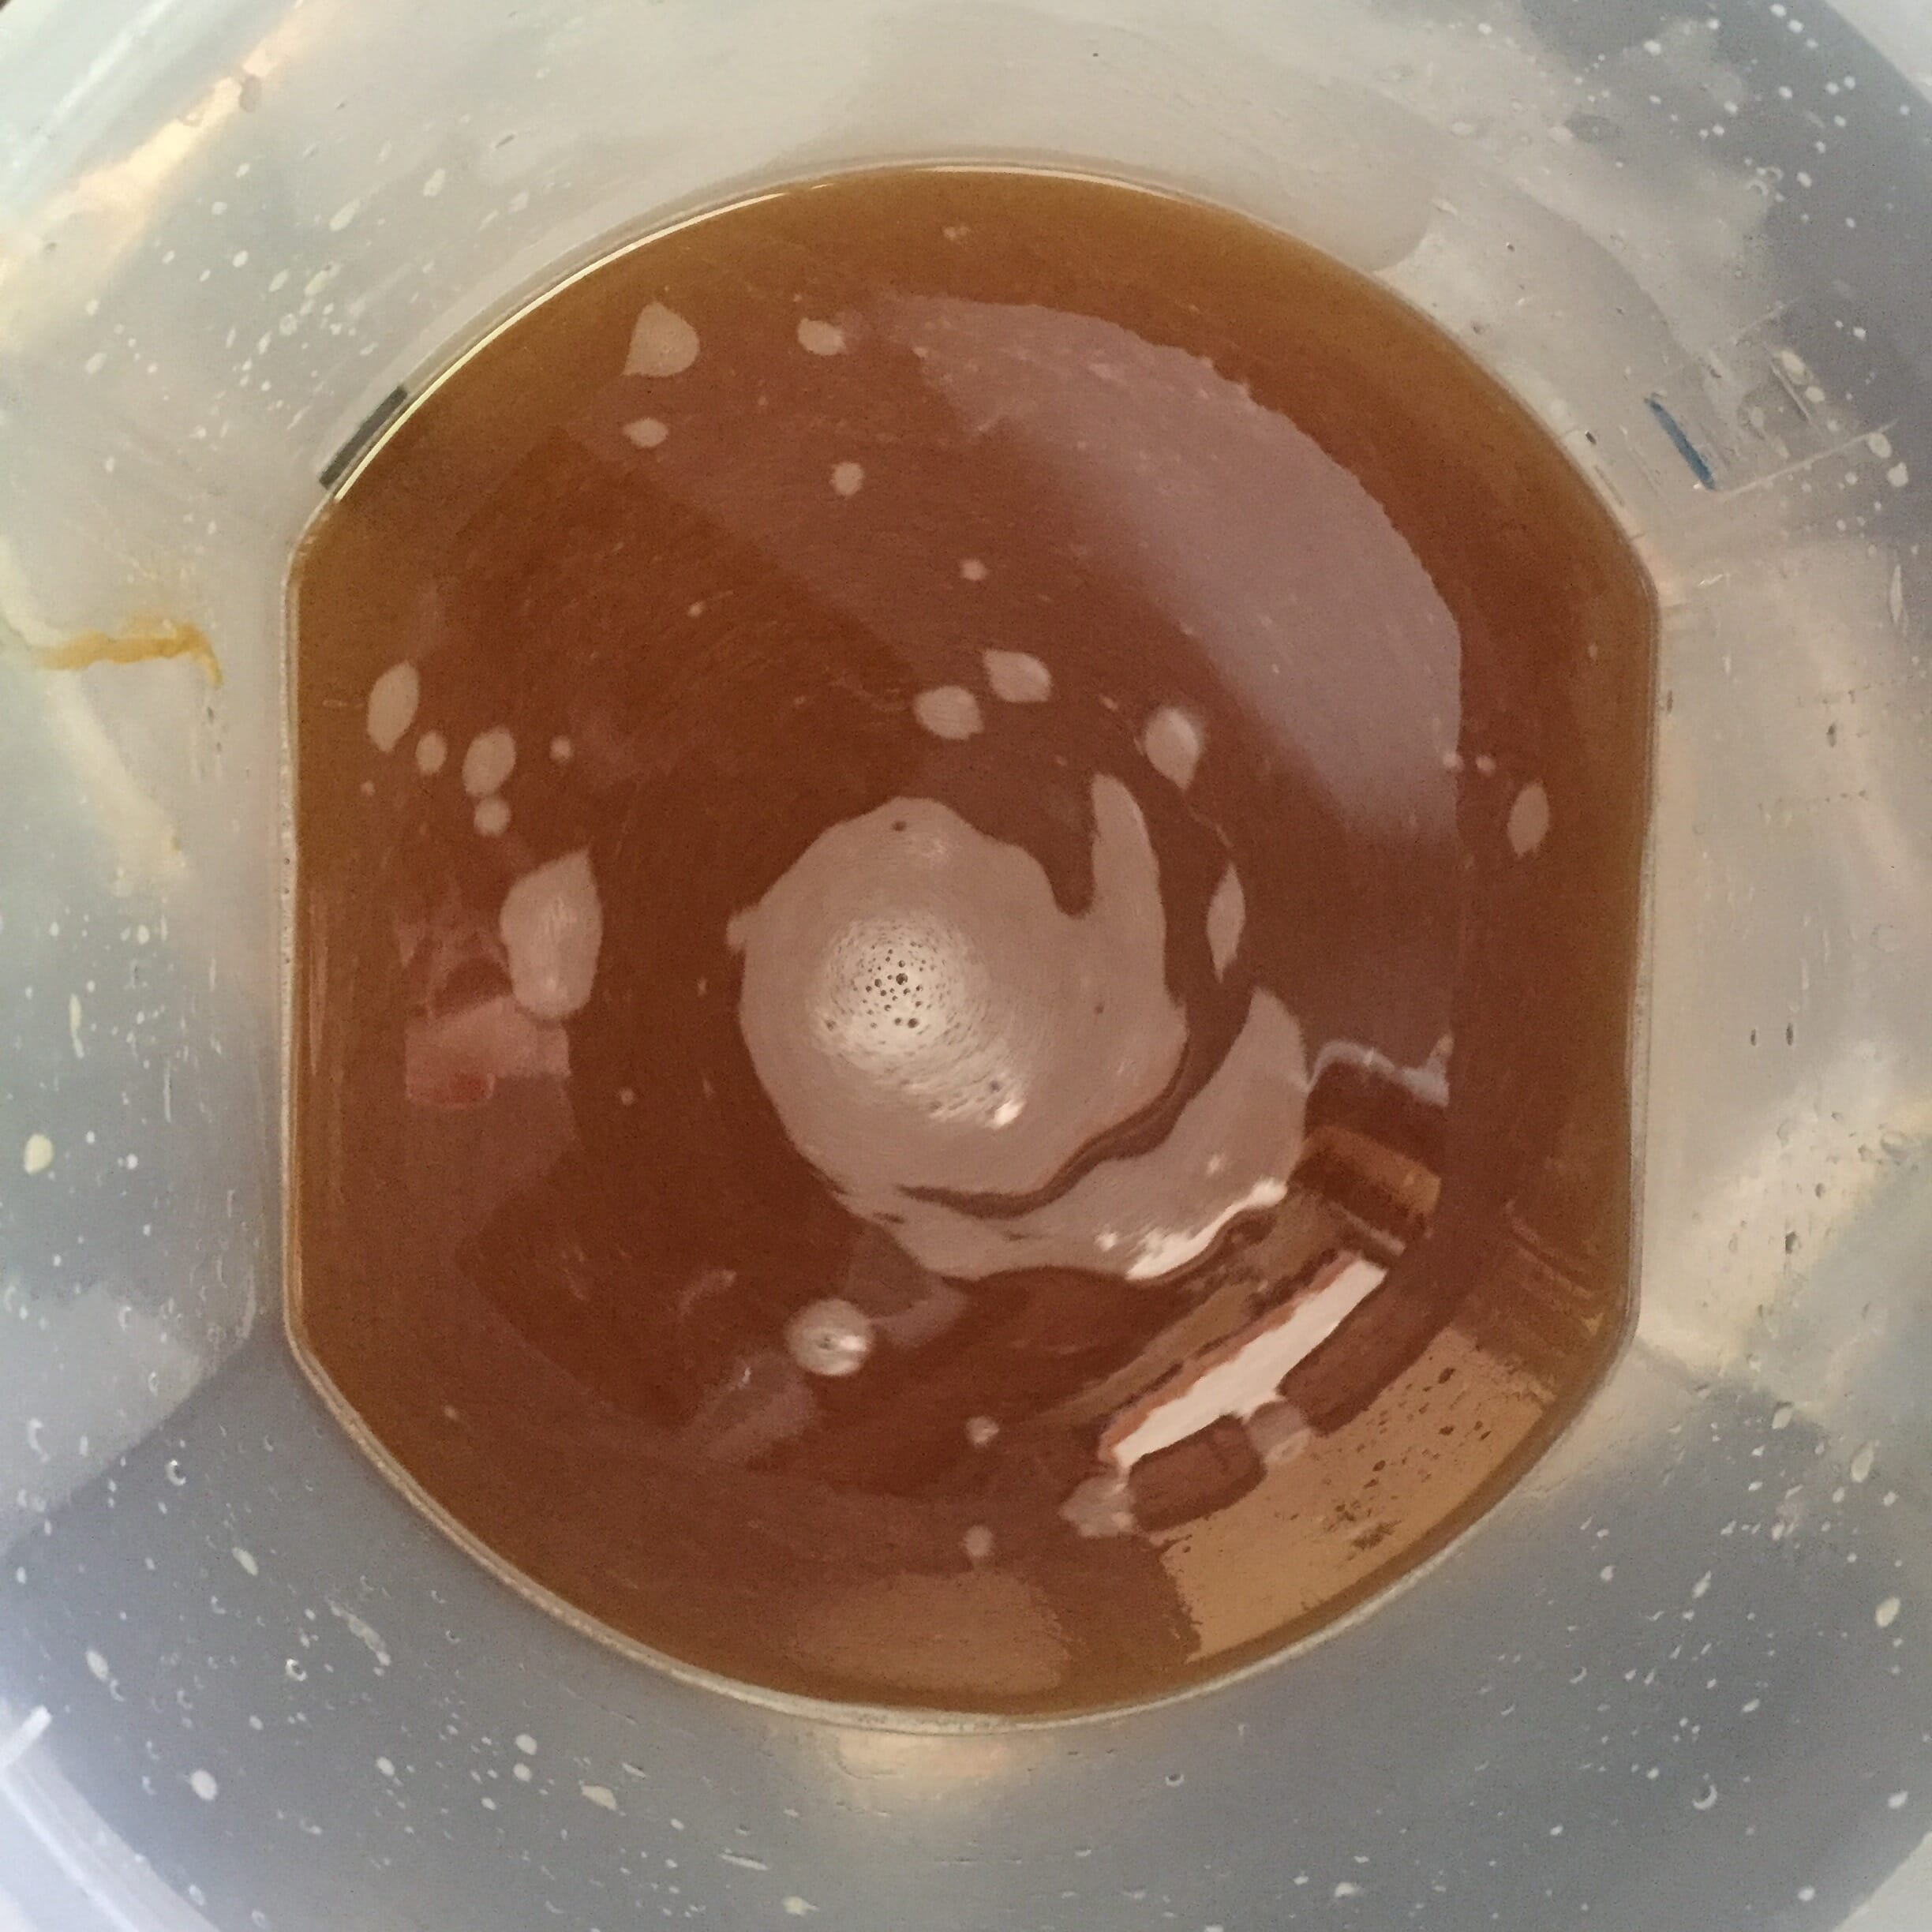
There was a fair degree of sediment in the brew so I filtered it out into another vessel first, using my grain mesh bag, then cleaned the fermenting vessel and poured it back before bottling.
I only bottled 11 x 740mL PET bottles. Let’s leave them for a month then give them a try, if I can wait that long!
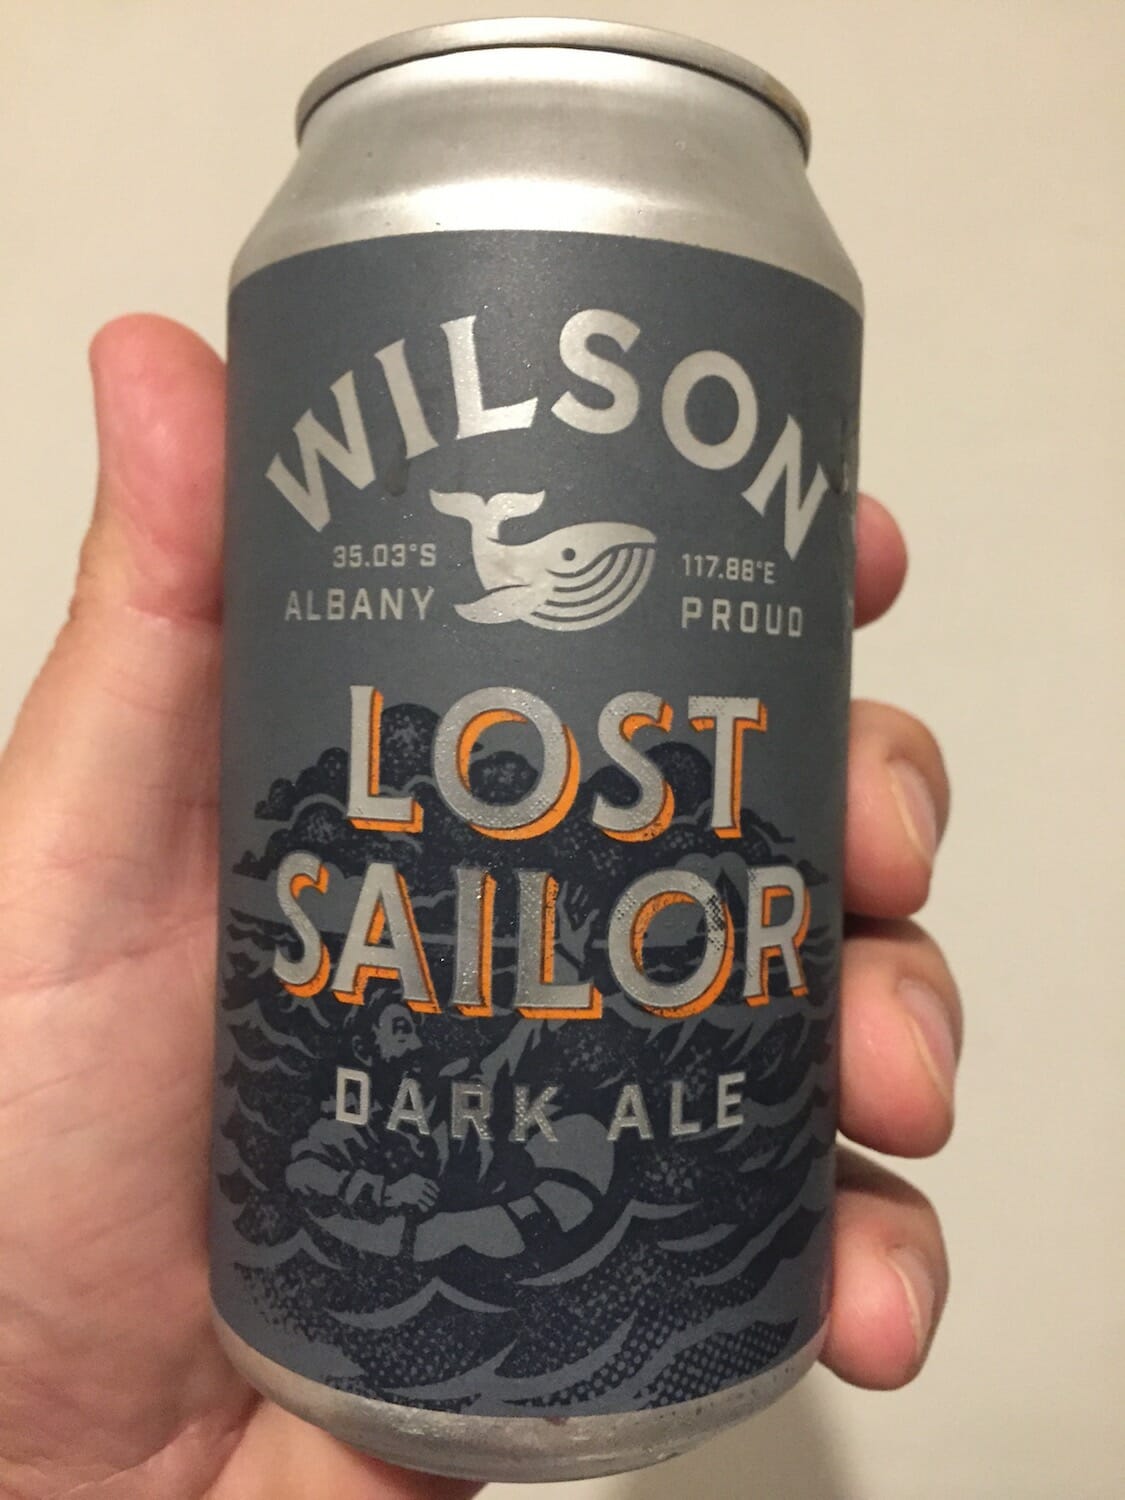
Now let’s have a local brew to celebrate the day. It’s a drizzly cold 12C here today so that calls for a Lost Sailor Dark Ale from Wilson’s Brewing in Albany. A micro brewery that is growing quickly, and with good reason. Their beers taste great and they recently won People’s Choice Award for best brewery at the prestigious Perth Royal Beer Awards in July.
Cheers, Vic